Atelier Mizuhiki : créer l'art japonais du nœud décoratif
Apprenez à nouer le mizuhiki, l'art japonais du nouage décoratif, et découvrez comment intégrer ces motifs élégants dans votre quotidien.
Mizuhiki—l'art japonais du nouage de cordons. Ses origines remontent à des cordes de chanvre vermillon et blanc apportées au Japon depuis la Chine il y a plus de 1 400 ans. Depuis, le mizuhiki s'est lié à la culture spirituelle japonaise en évoluant vers sa forme actuelle, qui exprime la pureté et le respect lors des échanges de cadeaux. Plus encore, les nœuds mizuhiki sont les liens qui unissent les personnes.
Aujourd'hui, le mizuhiki orne la papeterie japonaise comme les enveloppes de mariage, apporte la touche finale aux emballages cadeaux, et peut même se transformer en bijoux comme des boucles d'oreilles et des bagues.

Pour apprendre les bases et les essayer nous-mêmes, l'équipe Musubi s'est assise avec Omoda Kyoko, Directrice Représentante de la Modern Mizuhiki Association et consultante pour notre Mizuhiki MUSUBI Craft Kit. Elle nous a enseigné les nœuds fondamentaux, ainsi que des créations amusantes et créatives que chacun peut utiliser dans sa vie quotidienne. Prenez donc un kit, suivez-nous (ici ou dans notre vidéo tutoriel sur YouTube), et créez !
Table des matières
Préparation
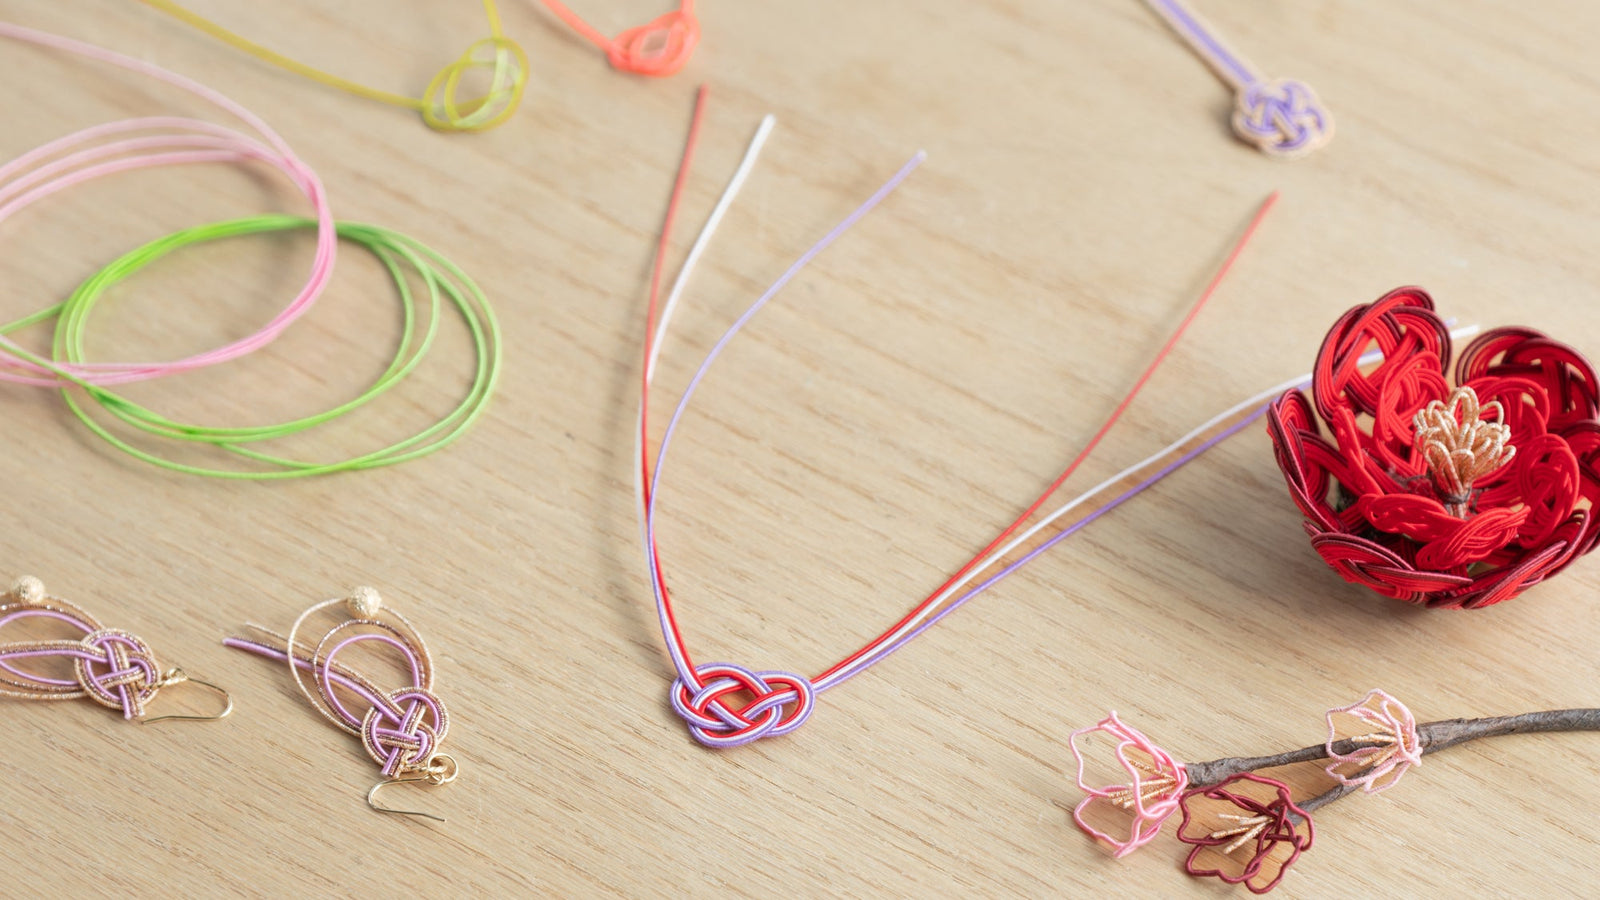
D'abord, j'ai observé Omoda démontrer comment préparer les cordons mizuhiki. Cela consiste à couper les cordons à la longueur appropriée et à les assouplir.
La plupart des créations nécessitent de couper les cordons en deux à partir des 90 cm d'origine (34,4 pouces). Alignez simplement les extrémités et coupez le cordon exactement à son point central.

Les cordons mizuhiki sont fabriqués à partir de papier washi japonais renforcé avec une colle appelée nori et enveloppé de fils colorés. À cause de la colle, les nouveaux cordons mizuhiki sont un peu raides pour travailler immédiatement et doivent d'abord être assouplis.
Il suffit de tenir le cordon entre votre pouce et un objet cylindrique dur comme un stylo et de tirer lentement votre pouce et le stylo vers l'extrémité du cordon jusqu'à atteindre environ 5 cm (2 pouces) de la fin. Répétez cela plusieurs fois avec le même cordon.

Quand j'ai essayé, j'ai découvert que lent et régulier est la clé. La première fois, je suis allé trop vite et j'ai failli me brûler par friction. Bon à savoir !
Comment nouer un nœud Awaji
En passant à la création d'un nœud, également appelé musubi, j'ai essayé de nouer un nœud awaji . C'est l'un des mizuhiki les plus fondamentaux, avec de nombreuses créations basées sur ce seul nœud. Il comporte trois boucles et une croix au milieu. En tant que débutant, il est utile de commencer avec un seul cordon pour comprendre les bases avant d'en ajouter d'autres.
1. D'abord, croisez l'extrémité droite du cordon par-dessus la gauche pour former une boucle en forme de larme près du milieu du cordon.

2. Pincez le cordon avec votre main droite à l'endroit où il se croise.

3. Ensuite, faites passer ce même cordon (maintenant en haut à gauche) vers le bas et pliez-le vers la droite, de sorte qu'il croise les côtés gauche et droit de la boucle. Je me suis trompé ici parce que je voulais le passer à travers la boucle, mais le nœud se défait à l'étape suivante si vous faites cela.

4. Ensuite, pincez l'endroit où les cordons se chevauchent à gauche avec votre pouce gauche pour maintenir la forme en place. Cela devrait ressembler un peu à un bretzel de côté à ce stade.

5. Prenez le fil libre en haut à droite et croisez-le par-dessus le fil libre en bas à droite.

6. Vous allez maintenant tisser ce même fil à travers les trois trous de votre « bretzel ». Passez dessous, dessus, dessous, dessus, et tirez légèrement pour serrer. Cela peut ne pas sembler grand-chose à ce stade, mais ne vous inquiétez pas—l'étape d'ajustement est celle où le nœud devient beau.

7. Tournez légèrement le nœud de sorte que vous ayez une boucle en bas et deux boucles en haut, avec les extrémités libres du cordon pointant en diagonale vers le haut, l'une vers la gauche et l'autre vers la droite.

8. Tirez doucement les boucles supérieures des deux côtés. Cela resserre le nœud et rend la boucle inférieure plus petite.

9. Pincez le point où les boucles supérieures se croisent entre votre pouce et votre index. Tout en pinçant la croix, tirez doucement une extrémité du cordon, puis l'autre. Changez de main pour pincer selon les besoins pour faciliter l'opération.

10. Tirez à nouveau les boucles supérieures de chaque côté et répétez en tirant les cordons, continuez à ajuster jusqu'à ce que le nœud mizuhiki soit de la taille souhaitée et que les trois boucles soient de la même taille.

Et voilà ! Un nœud awaji à un seul cordon.

Ajouter des cordons : astuces et conseils
Les nœuds mizuhiki contiennent généralement plusieurs cordons. Trois et cinq sont particulièrement courants, tandis que jusqu'à dix se voient dans des créations plus avancées. Voici quelques conseils pour travailler avec plusieurs cordons à la fois.
Garder les cordons à plat et en ordre
La clé numéro un pour nouer un mizuhiki à plusieurs cordons est de maintenir le même ordre des cordons tout au long et de les garder à plat—ne les laissez pas se croiser ou se chevaucher. Disons, par exemple, que vous travaillez avec un fil violet, un blanc et un rouge. Maintenez l'ordre violet, puis blanc, puis rouge tout au long du nœud entier.

Pour garder les cordons à plat et en ordre, il est utile d'utiliser vos doigts non actifs pour soutenir les cordons pendant que vous formez chaque nouvelle boucle. Vous pouvez également courber les cordons petit à petit, en avançant lentement et en les massant dans la forme appropriée au fur et à mesure. Enfin, si les cordons se désordonnent, ajustez-les en tirant doucement chaque cordon, en commençant par le plus intérieur, jusqu'à ce qu'ils s'alignent à nouveau correctement.

J'ai trouvé cela plus difficile avec des cordons de textures différentes. Si vous avez des difficultés, essayez avec uniquement des cordons de texture soyeuse ou uniquement des cordons brillants jusqu'à ce que vous maîtrisiez la technique.
Tapoter les extrémités sur la table pour faciliter le tissage
Lorsque vous nouez le mizuhiki, les cordons conservent le même ordre du début à la fin. Vous utiliserez donc naturellement une longueur plus courte pour le cordon intérieur que pour le cordon extérieur. Les extrémités ne s'alignent plus après quelques boucles. Cela peut compliquer le passage des cordons à travers plusieurs boucles simultanément, comme à l'étape 6 du nœud awaji ci-dessus.
Pour faciliter le travail, tapotez doucement les extrémités des cordons sur la table afin de les égaliser. Les cordons se croiseront naturellement et perdront leur ordre lors du tissage, mais ce n'est pas grave. Réajustez en tirant sur chaque cordon dans l'ordre, en commençant par celui du centre.

Tirez les cordons un par un pour ajuster la taille des boucles
Il est tentant de tirer tous les cordons en même temps aux étapes 9 et 10 lors de l'ajustement de la taille des boucles, mais le nœud final est beaucoup plus net lorsque vous tirez un cordon à la fois. Comme précédemment, commencez par le cordon intérieur et progressez vers l'extérieur.

Mon nœud awaji n'avait pas belle allure avant l'ajustement. Mais une fois les boucles à la même taille, il avait enfin l'aspect que je voulais !
Le mizuhiki dans votre quotidien
Des motifs au-delà des nœuds de base
Une fois le nœud awaji maîtrisé, de nombreuses possibilités de création s'ouvrent à vous. Quelques ajustements transforment une paire de nœuds awaji en boucles d'oreilles élégantes. Deux boucles supplémentaires transforment le nœud awaji en nœud de fleur de prunier, ou ume musubi, qui peut devenir un marque-page, un porte-bonheur, et plus encore. Ils animent l'emballage cadeau et ajoutent de la couleur aux enveloppes. Essayez le Mizuhiki MUSUBI Craft Kit pour plus de tutoriels et d'inspiration !


Rapprocher les gens en créant ensemble
En discutant avec Omoda, nous avons découvert un point commun amusant : nous avons toutes deux vu des personnes se rapprocher autour du mizuhiki.
Omoda m'a raconté : « L'un des ateliers mizuhiki que j'ai animés était pour une soirée de rencontres. Lorsque vous faites du mizuhiki avec d'autres, vous vous tournez naturellement vers les personnes autour de vous, comme : "Est-ce que ça a l'air correct ?" "Comment avez-vous fait cette boucle ?" Cela fait vraiment parler les gens entre eux. »
J'ai partagé une expérience similaire. Pour une fête d'échange de cadeaux, le cadeau qu'une de mes amies a « apporté » était sa connaissance du mizuhiki et des cordons pour tout le monde. Nous avons fabriqué des marque-pages en mizuhiki ensemble et avons passé un excellent moment à choisir les couleurs, à rire de nos premières tentatives bancales, et enfin à admirer les créations de chacun. Nous ne nous connaissions pas tous, c'était donc une excellente façon de briser la glace.

Lorsque j'ai raconté cette histoire à Omoda, elle a hoché la tête en signe de compréhension. « Plusieurs nouveaux couples sont sortis de cette soirée de rencontres », a-t-elle ajouté. « Non seulement des nœuds, mais aussi des cœurs se sont noués ! »
Les cordons et nœuds mizuhiki ont non seulement une longue histoire et une signification dans la culture japonaise, mais ils peuvent aussi facilement devenir une partie colorée de votre quotidien. Maintenant que vous avez une idée du mizuhiki, pourquoi ne pas vous procurer un Mizuhiki MUSUBI Craft Kit et l'essayer vous-même ?

Stay close to the craft
Now and then, a quiet letter — new stories, seasonal notes, and the hands behind the work.
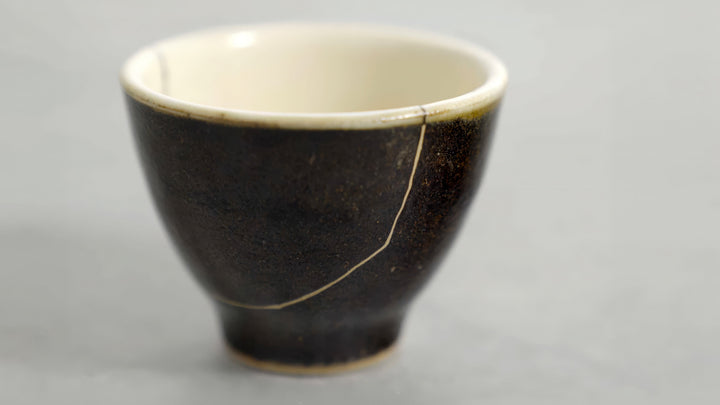
Expérience de réparation kintsugi : le sens derrière la restauration dorée
Kintsugi est souvent présenté comme un artisanat magnifique, mais en pratique, il commence par quelque…
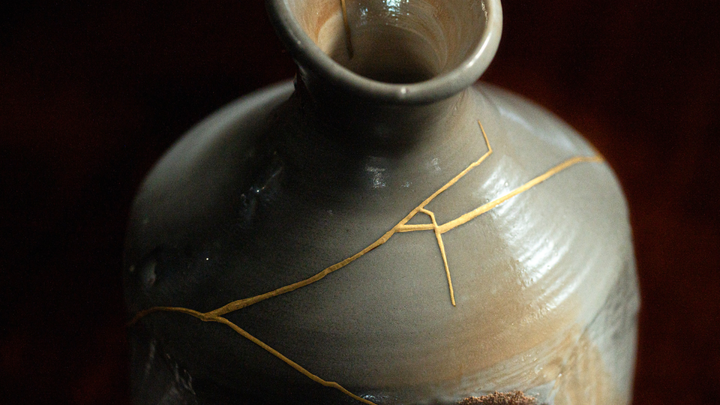
Qu'est-ce que le kintsugi ? Guide de l'art japonais de la réparation à l'or
Découvrez le kintsugi, l'art japonais de la réparation à l'or, de ses origines à…
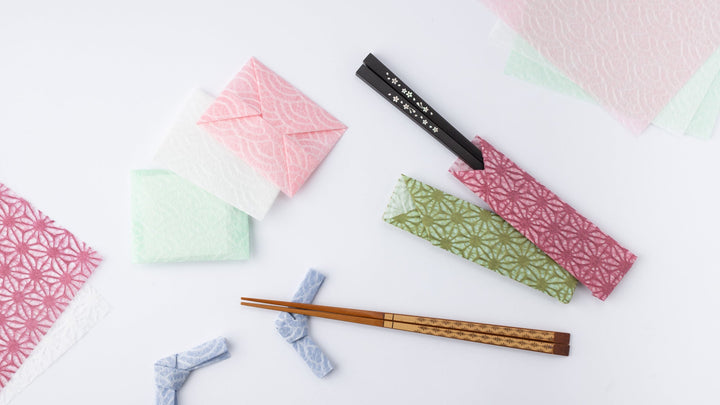
Défi origami avec de magnifiques papiers washi
L'origami, l'une des cultures traditionnelles du Japon, est populaire dans de nombreux pays du…
Leave a comment