Learning How to Plate Sashimi
Written by Team MUSUBI
Presentation is an important element of preparing an appetizing meal. And presentation for "washoku," Japanese cuisine, plays an integral role in the enjoyment of a Japanese meal.
"Moritsuke" is the Japanese term that means "plating" and involves certain customs and rules that are centered around the concept that a well-balanced presentation makes dining more pleasurable and easy.
This introduction might be making things sound slightly complicated, but rest assured, it doesn't mean you have to be a culinary professional to serve beautifully plated Japanese cuisine at home. You can spruce up a homemade Japanese meal by following some basic tips and, of course, with some practice.
Follow me through my lessons under the supervision of my colleague/teacher Mieko-san, and learn how to plate Japanese dishes on authentic Japanese tableware. I chose "sashimi," fresh edible raw fish, as my first lesson. Yes, I chose the most difficult first because I felt that although sashimi is one the most challenging of ingredients, it is also one of the most impressive to serve at home. A definite "wow" moment will come upon the table when served.
Please keep in mind that we are aiming for plating styles that are doable. Styles and ideas that you (and I) can try at home with fairly accessible ingredients.
tables of contents
What to Prepare
Ingredients

Starting from the left, on the tray are vegetables for the garnish. We bought daikon (Japanese radish), cucumber, radishes and Shiso leaves, Japanese green perilla leaves. Shiso leaves are very important when plating sashimi and is actually a must-have item. But if you they are unavailable, replace with flat edible greens, preferably ones that are fairly crisp and have pointed tips.
Next to the white tray are broccoli sprouts and small chrysanthemum flowers that are sold as garnishes for plating. These are optional but do help when trying to beautifully decorate a sashimi plate.
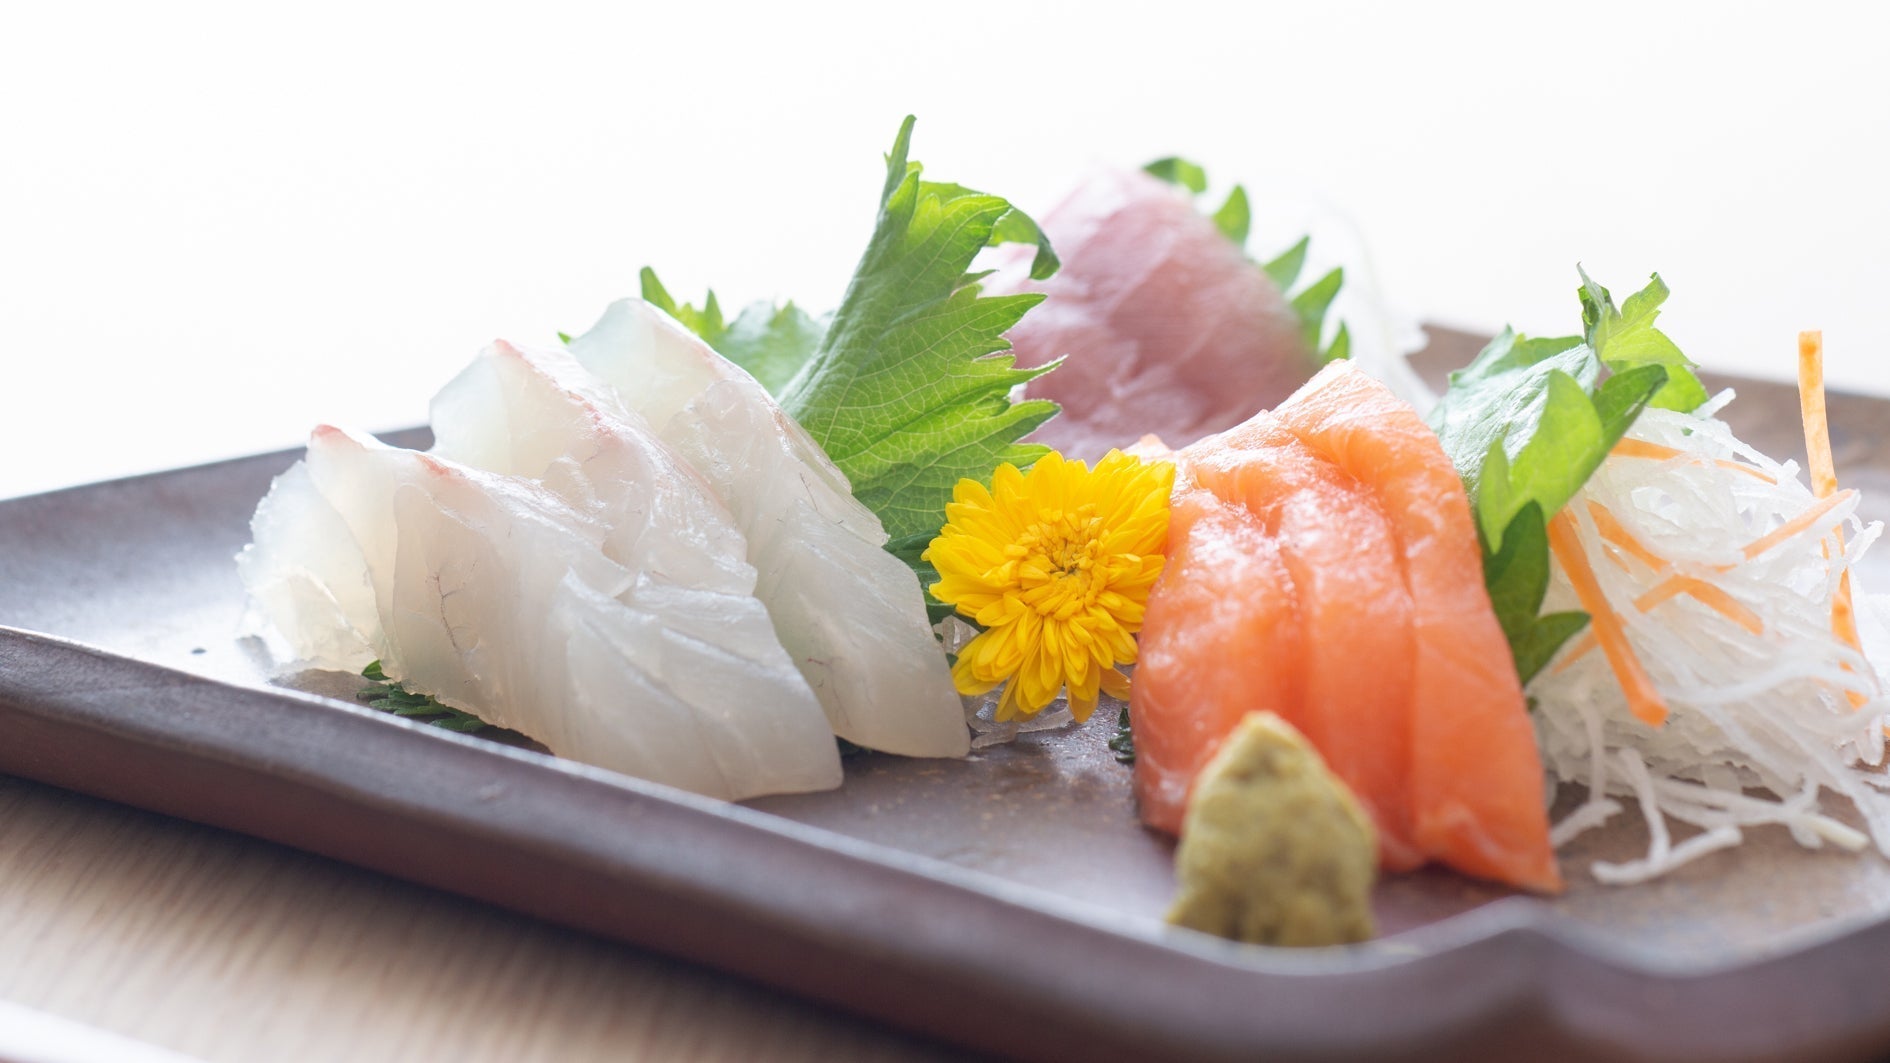
The red filet is tuna, the orange one salmon and the pink-white filet is sea bream. The mix in colors is nice to have when plating sashimi. Instead of sea bream you can use any other white meat fish or scallops or even squid.
Cut the filet into thin slices of about 8mm(0.3in). If you have a market or fishmonger nearby who will cut the filets into thin slices, we recommend you buy sashimi in that style.

Tsuma is usually sold with pre-plated sashimi. If tsuma is not available, try a julienne slicer to make long, thin strips of daikon.
Tableware

Basic Rules and Helpful Hints

Mieko-san first instructed me on some basic rules to follow when plating sashimi.
- The fish you serve needs to be fresh. Fish that look fresh may not necessarily be suited to be eaten raw. Always make sure the fish you are buying is suited to be eaten as sashimi.
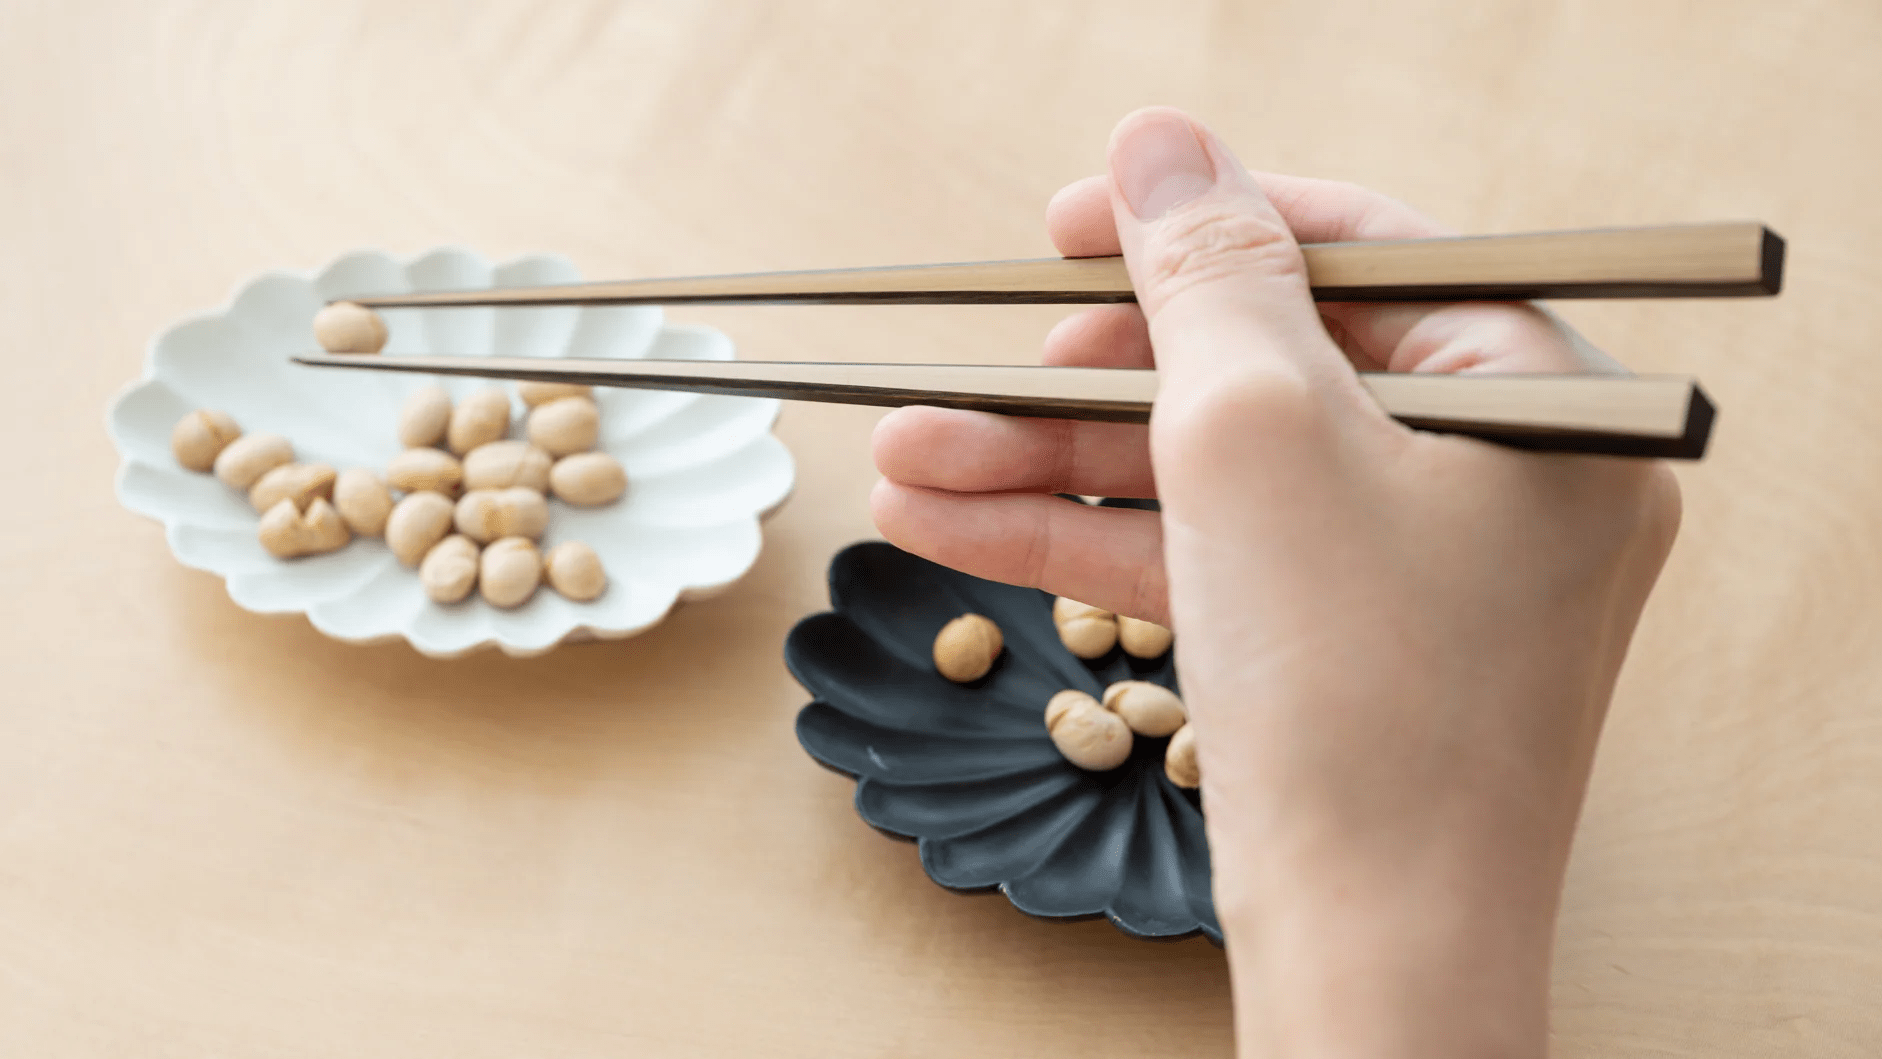
- Touch the sashimi as little as possible with bare hands. You may wear gloves for sanitary purposes, but the warmth of your hands may damage the freshness of the fish, especially for fatty fish like yellow tail or mackerel. Try using chopsticks when plating.
- "Odd numbers" is the key when plating sashimi. You should try to plate an odd number of slices of sashimi.
- The wasabi and any other condiments should be placed on the right front position of the plate.
Mieko-san also gave me some helpful hints. These hints were quite useful!
- Try to get an exact image of the layout for your sashimi plating. Sashimi is very soft and moist. Once placed on a plate, it's quite difficult to remove it and to rearrange it.
- Try to keep all the items to serve inside 1/3 of the whole surface of the plate. To give your plating a refined and stylish look, it's better not to overcrowd the plate with sashimi and garnishes.
- You can be creative with the garnish. You can mix some julienned carrots and broccoli sprouts for some plates. But remember that the vegetables are there only as garnish, and not as a salad.
- As sashimi is usually cut on an angle, bring the larger cut side of the slice to the front. And the skin side of the fish slice should face upwards for smaller fish like sea bream.
Plating for One

I chose tuna and sea bream. For the garnish, I cut daikon in extremely thin and straight pieces, a small serving of edible seaweed for some color, and wasabi. The wasabi should always be placed on the plate with the sashimi.

First, find the front of the plate, and start from the left back side.
Plate darker colors first. I set 5 pieces of tuna and stacked them up for height.

Set the skin-side up and the wider cut of the slice facing front. Slightly fan out the slices.

I made julienned daikon, soaked them in water, lightly squeezed out the moisture and then made a teepee-like shape to give height (honestly speaking, this was a bit of challenge).

For the finishing touch, I added a pinch of seaweed and a small serving of wasabi on the side.
Plating for Two

We prepared 3 types of sashimi for this plating.


For the salmon, I decided to mix some julienned carrots to the tsuma to add color matching the salmon.

If you can buy chrysanthemums like ours, place one in the middle as an accent.

After trying to plate for two, I realized that square plates are a bit harder to use as it seemed a little difficult to find the right balance. The total balance seemed to be better when the sashimi was plated closer to one another, without making a "hole" in the total presentation.
Plating for A Party

I chose matching Kobachi small bowls designed with classic patterns. I first laid a "haran" leaf as a decoration on the tray, then placed the bowls. In the center of the tray I plated a small serving of tsuma containing julienned daikon and carrots.
You can select any kind of small bowls or plates you may have. Just set them on a tray so that each guest may just reach out for their own serving of sashimi.


I added a small pinch of wasabi and the plating for the bowl was done. I placed thin slices of radish and cucumber for some color, but this is optional.
Practice Makes Perfect

Several days after my lesson, I tried plating some sashimi on one of my favorite plates we have. Of course, the beautiful design of the plate was a big boost for the final presentation, but I definitely was able to plate sashimi quicker, with less hesitance and less stress. I showed it to Mieko-san and asked her what she thought of my plating. She said that the sashimi slices could have been lined up more neatly and as the plate was fairly large, a third type of sashimi might have been nice to add. But she said that the sashimi looked appetizing and my overall presentation was organized and the color distribution was balanced.
Plating sashimi may seem like a daunting task, but definitely worth the try. We hope you get a chance to try out these tips and serve fresh sashimi at home.
I am looking forward to my next plating challenge (lesson), though I did request Mieko-san for a slightly easier menu for our next lesson.



Leave a comment
This site is protected by hCaptcha and the hCaptcha Privacy Policy and Terms of Service apply.