How to Snap Beautiful Food & Tableware Photos with Your Phone
Capture stunning food & tableware photos with your phone with these simple tips to master lighting, angles, framing.
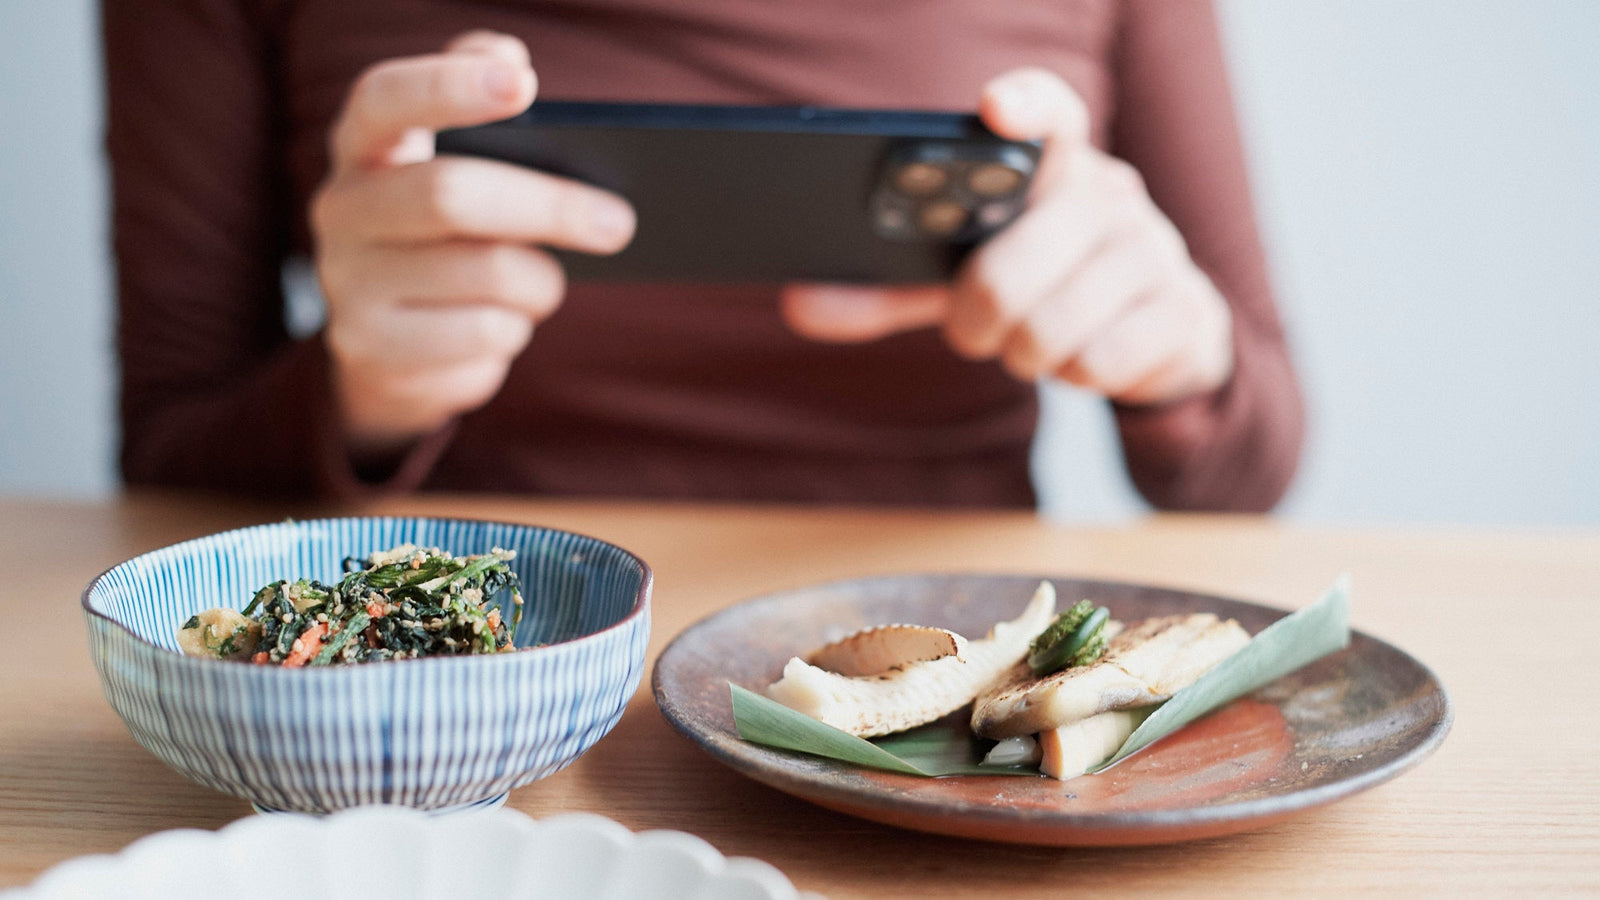
Your long-awaited tableware has finally arrived from Japan. You unbox it with the careful delight of a museum curator handling a priceless exhibit. The design, the texture, the color—everything about the piece is just as you had hoped. You’re already picturing the delicious meal you’ll serve on it.
Eagerly, you set it on the table, clear the clutter, and open the curtains to let in soft natural light. Everything is perfect. You grab your phone and snap a photo, hoping to capture the moment. After the click, you glance at your screen, anticipation building… but the image isn’t what you expected. The color not as vibrant, the glaze not as shiny, the design not as striking; somehow, your beautiful piece just doesn’t have the same presence it does in real life.
Sound familiar? Don’t worry! Taking great photos of your tableware doesn’t require a professional camera or advanced skills—just a few simple tricks with your smartphone. Follow these steps, and you’ll be able to capture stunning images every time.
The secret to a great photo starts before you even press the shutter button. A little preparation can turn a photo that feels a bit plain into one that truly reflects the beauty of your tableware.
✔ Clean your camera lens. Dust and fingerprints can blur details, so give it a quick wipe before you start.

✔ Use your phone’s grid feature. If available, turn it on to help frame your shot with better balance.


Now let’s get down to some basics to help you get the best shot!
Chase the Light – Natural is Best
Lighting is everything in photography. The right light brings out the colors and textures of your dinnerware, while poor lighting makes them look flat. Yet, for beginners, the concept of "good lighting" can feel vague. What kind of light works best? How do you find it? Let's break it down into simple, actionable steps.
Quick Tips:
✔ Use natural light whenever possible. Place your piece near a window to maximize soft, natural lighting. Diffuse direct sunlight as harsh sunlight creates strong shadows. Close lace curtains or blinds slightly for a softer effect.
✔ Avoid mixing light sources. Combining natural and artificial light can distort colors and make tableware look off. If natural light seems enough, no need to turn on the lights in the room.
✔ Use a white surface to reflect light. A white napkin, paper, or placemat can bounce light onto your tableware and soften shadows.
✔ If using indoor lighting, position it at an angle. Overhead ceiling lights create harsher shadows, so use a lamp for a more natural look.
✔ Pro Tip! Try what's called reverse backlighting. Position yourself so that the light source is at a 45-degree angle behind your subject—this technique enhances the gloss of glaze, the transparency of glass, and the richness of sauces, making them shimmer beautifully in your shot.


Finding Your Angle
The angle you choose can make or break your shot. Certain angles work better depending on your tableware and food.
Best Angles to Try:
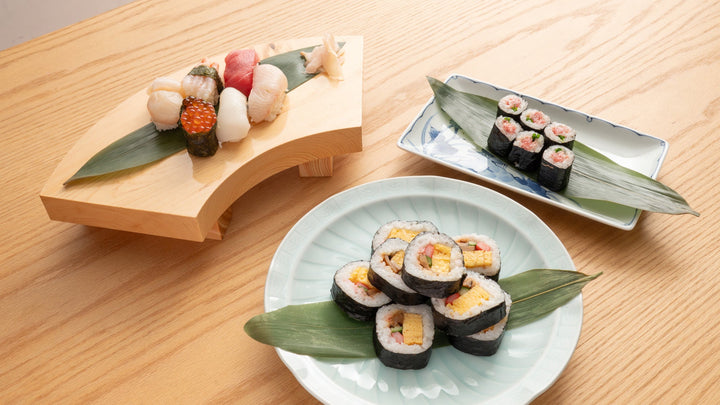
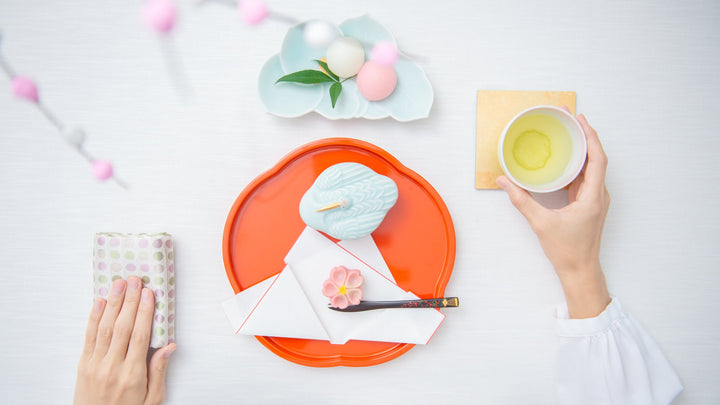
✔ Top-down (flat lay): Works well with flat plates or food with a distinct shape like a pie. This angle is also great for capturing the full composition of a table setting, allowing you to see how your new plate or tray fits into the tablescape. While it doesn’t add much depth, it’s ideal for showcasing shapes, textures, and arrangements in a clear, structured way.

✔ 45-degree angle: The go-to angle. Feels natural and mimics how we see food when seated, making it versatile for most dishes. A 45-degree angle is actually steeper than you might expect, so be sure to position yourself as if you're slightly looking down at the piece to capture the most flattering perspective. A carefully framed close-up at this angle can highlight the shimmer of glaze, the crisp edges of tempura, or the layered textures of a dish like this spinach and carrot goma-ae tossed in sesame dressing.

✔ Side angle: When you want to capture a clean cross-section, a straight-on side angle works well. If your dish has melting cheese, glossy drizzles, or a beautifully sliced cross-section like a fruit sandwich, getting close from the side enhances visual appeal.


Frame It Right
A well-framed shot makes all the difference. It guides the viewer’s eye and highlights what’s most important in your photo. The same setup can look more visually engaging and intentional when you set the focus the right way.
Quick Tips:
✔ Shift your subject slightly off-center. This creates a more dynamic and natural-looking photo.
✔ Fill the frame when needed. Cropping out part of the plate can add an artistic feel and draw focus to the details.
✔ Leave negative space for balance. Not every part of the image needs to be filled—empty space helps avoid a cluttered look.
✔ Use the rule of thirds. Imagine a 3x3 grid on your screen and align key elements along these lines for a visually pleasing shot.


Easy Styling
A beautiful plate can stand alone, but a well-planned background enriches your shot. It can give your plate a story or hint at what might be beyond the frame.
However, it’s easy to fall into the trap of trying to fit everything on the table into the photo, which can make the shot feel cluttered. Instead, focus on selecting a few complementary elements that accentuate, rather than compete with, your tableware.
Quick Tips:
✔ Stick to neutral backgrounds. A wooden table, linen cloth, or a plain white surface keeps the focus on your tableware.
✔ Use props wisely. A tea cup next to wagashi tells a story, but too many accessories create chaos.
✔ Start simple. If you’re unsure, begin with a neutral plate, a natural surface, and one small accent like chopsticks or a napkin.
✔ Let the photo tell a story. A partially cropped plate or casually folded napkin can make the image feel more inviting and real.

Shooting Outdoors
When photographing table settings outdoors, a few simple adjustments can make all the difference in achieving a bright, airy composition.
✔ Keep Your Lens Clean. Outdoor conditions can lead to smudges or dust on the lens, which can affect image clarity. A quick wipe before shooting ensures crisp results.
✔ Watch for Backlighting. Be mindful of the sun’s position to avoid harsh shadows or overexposed areas. Adjust your angle or use reflectors to balance the light.
✔Create a Sense of Openness. Placing objects toward the edge of the table instead of the center allows for more negative space, helping to achieve a relaxed, effortless look.


You don’t need fancy equipment to take beautiful food and tableware photos—just a little attention to lighting, angles, and composition. With these tips, your photos can go from ordinary to eye-catching, letting your cherished find shine just as beautifully in pictures as it does in real life.
So go ahead—grab your phone, set the table, and start snapping. You’ll be surprised how much of a difference these small changes make!
A special thanks to our creative team, whose keen eye and thoughtful approach help bring out the essence of each piece, showcasing not just its form but the feeling it conveys.
We’re here to help you enjoy your favorite pieces to the fullest—both for yourself and to share with others. Capture the beauty and spread the joy!
Stay close to the craft
Now and then, a quiet letter — new stories, seasonal notes, and the hands behind the work.
How to Plate Sushi at Home
Master sushi plating with expert tips for nigiri, maki, chirashi, and temaki using simple…

How to Give Your Table a Spring Seasonal Swap
Refresh your table for spring by mixing colors, textures, and seasonal pieces to create…
How to Set a Minimalist Japanese Table
Learn to create serene table settings with Japanese aesthetics. Explore tips on spacing, plating,…
Hirata Paku Kayoko
Leave a comment
@Monte Fredericks,
What a lovely comment! Thank you so much for reaching out. We’re so happy you found the photography tips useful. A big thank-you goes to our camera crew, who patiently shared their knowledge with our writers! We’re delighted to hear you’re enjoying our tableware and plating food on it. It means a lot to know our work is reaching people like you.
Thanks again, and all the best!
@Glenys Marshall-Inman,
Thank you so much for your kind words! Your comment made our day. A big shout-out goes to our camera crew, who generously shared their time and know-how with us writers to make this article happen. We’ll share your comment with them—they’d be so pleased to hear it!
Thanks again, and take care!
The new tips you wrote helped me open settings on my iPhone. I didn’t even realize I had. I can’t wait to return to the same photos of food I made and plated on my musubi kiln flatware. This time, I believe I may have found much bigger and more interesting attempts when recreating a meal to be plated on the musubi kiln stuff I bought, and what I’m looking to purchase from you guys now is adding value with the photographic ability that increased the work I invested into doing to make a showstopping food photo. Thanks again.
Sincerely.
M. Fredericks
View 1 more comment Hide comments
This is without a doubt the most amazing website ever. Your generosity in sharing articles like the photography one just published is testament to your organization. There is always something new to explore and view. Thank you!