

How to Use the Japanese Calligraphy MUSUBI Craft Kit
Explore each shodo tool in the kit, how to grind ink to your preferred shade, and how to keep your tools for years.
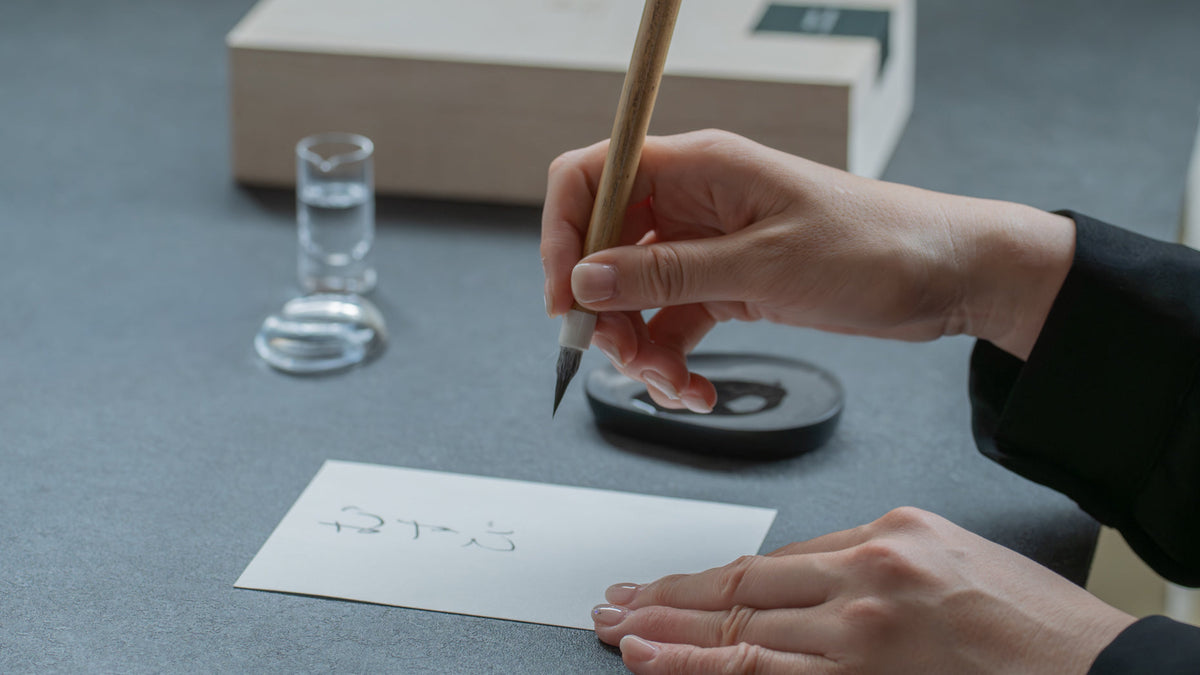
Open the Japanese Calligraphy MUSUBI Craft Kit, and you’ll find the tools of the art: a brush, a solid ink stick, an inkstone, a water dropper, and washi paper. Whether you’re new to shodo or a long-time practitioner, this guide introduces the essentials of the craft, from the purpose of each tool and how to grind ink and adjust its concentration, to care instructions that will help you keep your tools in top shape for a long time. You will also find a few tips to deepen your shodo practice. There’s much to discover, so let’s begin.

The Main Calligraphy Tools
This section covers the main tools provided with the Japanese Calligraphy MUSUBI Craft Kit, as well as some that are not included but may be convenient to have on hand as you continue your shodo practice.
Brush

A good calligraphy brush is said to possess “four virtues” (fude no shitoku): 尖 (sen), 斉 (sei), 円 (en), and 健 (ken). These denote a sharply pointed tip; neatly aligned bristles; a rounded, cone-shaped form; and just the right amount of springiness to allow for smooth writing. These are the four basic qualities. From there, brushes differ in circumference, length, and bristle material, with each type suited to the size and style of characters you want to write.
The kit’s Tenpyo brush is a makifude, literally a “rolled brush,” and one of Japan’s oldest varieties of calligraphy brush. Its core hairs are wrapped with washi paper, then covered by an outer layer of hairs. The design of the brush in the kit is based on the Tenpyo Treasure Brush, an imperial treasure from the Tenpyo era (729–749 CE) kept in the Shosoin Repository in Nara Prefecture. Its compact head and fine tip make it well suited to the postcard-sized papers in the kit. It is also ideal for practicing both kanji and kana, the characters and phonetic scripts used in Japanese writing.
Sumi Ink

Sumi ink is a black pigment used for calligraphy and painting, and its solid form is the ink stick. When ground with water on an inkstone, it becomes liquid ink. Sumi is made from soot and nikawa, a kind of animal glue. The two main kinds of soot used in sumi are shoen, Japanese red pine soot, and yuen, oil soot.
Traditional ink sticks are remarkably long-lasting when properly stored. Text written with them may survive for centuries, depending on factors such as the environment and paper type. The Shosoin Repository in Nara preserves ink-written documents that are about 1,300 years old.
Nara is Japan’s leading center of traditional ink stick production, and ink sticks made there using traditional techniques are called Nara sumi. First, soot is collected from burning pine wood or plant-based oils. Artisans knead the soot with nikawa and sometimes with fragrant ingredients, then press the mixture into a wooden mold. Once removed from the mold, the ink sticks are buried in ash to draw out moisture, then thoroughly air-dried over the course of months. Finally, the surface is washed of impurities and polished. Painted or carved decoration may also be added.
The ink stick in the Japanese Calligraphy MUSUBI Craft Kit is Nara sumi hand-crafted by Kinkoen, a family of ink makers active since the Edo period (1603–1868 CE). It was specifically chosen for its ease of grinding and rich range of shades.
Although this guide focuses on grinding solid ink, bottled ink is also a convenient option, particularly for beginners who want to start writing straight away. However, it generally offers less variation in tone and depth than ink ground from a solid ink stick. Using an ink stick also allows you to minutely adjust the ink’s concentration to achieve the precise shade of black you prefer. Many calligraphers also appreciate the way traditionally ground ink absorbs into the paper.
Inkstone

An inkstone is used to grind an ink stick with water to make liquid ink. The flat area used for grinding is known as the oka or riku, while the indented basin where liquid ink pools is known as the umi or bokuchi.
Inkstones are typically made of slate. Although the exact characteristics of slate differ depending on regional topography, high-quality inkstones are valued for their fine, even texture and distinctive color or natural markings.
The inkstone included in the kit is a Tosa inkstone. Using traditional techniques, it is carefully crafted from Mihara stone quarried from Mihara Village, Kochi Prefecture.
Water Dropper

Water droppers are used to add a small amount of water at a time to an inkstone, as water is needed to grind ink. They come in a wide variety of shapes. On the simple side of the spectrum are water droppers shaped like bowls or pitchers. Others have two small holes, one for pouring a single drop of water at a time and the other for letting air in and out, which allows for precise and controlled drops. These occasionally have elaborate or fantastical designs inspired by animals or mythical creatures. Materials, meanwhile, can range from brass to ceramic to glass or even jade.
Brush Rest

A brush rest keeps your brush off the work surface when you pause or switch brushes. Its grooves help prevent the brush from rolling and keep the bristles from touching the table. That both helps the table remain clean and prevents damage to the bristles. A brush rest may have one groove to hold a single brush or several grooves for multiple brushes.
Calligraphy Paper

Paper has a significant influence on the appearance of a calligraphy piece. Accordingly, there is a wide range of sizes, thicknesses, and textures of Japanese calligraphy paper. Different papers are chosen based on factors like the writing style or script, the type of ink, and how readily the paper’s fibers absorb and spread the ink.
Standard-sized Japanese calligraphy paper is known as hanshi. Often used for practice, it typically measures around 24.3 × 33.3 cm (9.6 × 13.1 in), and has two sides: a smooth front and a textured back.
Instead of hanshi, the Japanese Calligraphy MUSUBI Craft Kit comes with twenty postcard-sized sheets of washi paper to enjoy. Both the smoother and rougher sides may be used to create different textural expressions. They are ideal for writing New Year’s cards, transcribing a waka poem, or penning a short letter or thank-you note.
Underlay Mat
A shitajiki or mosen is a mat placed beneath calligraphy paper. Often made from felt or a woolen cloth known as rasha, it protects the work surface from ink that seeps through the paper and provides a soft yet supportive surface for writing.
An underlay mat is neither included in the kit nor necessary when using its washi postcards, as the cardstock is relatively sturdy and thick. However, it might be worth looking into if you would like to expand your writing to hanshi or other thin calligraphy papers.

Paperweight
Also not included in the kit but useful when working with thinner calligraphy papers is a paperweight, known in Japanese as bunchin. It is placed at the top of a sheet of calligraphy paper to keep it in place as you write. The most common type is long and slender with a knob in the middle to make it easy to move, and is made of metal to give it some heft.
From Ink Preparation to the First Stroke
Calligraphy styles are so diverse that we won’t cover them in this guide. However, we will discuss how to grind ink and adjust its concentration below.
Prepare Your Work Station
Ink stains, especially from ink made with nikawa, are very difficult to remove once they have set. Wear clothes that you don’t mind getting dirty, and cover your table or work area with a cloth, underlay mat, or newspaper to protect it from stains. If using a felt underlay, choose one that is somewhat larger than the size of your paper.
How to Grind Ink
1. Add Water

Place a few drops of water from the water dropper onto the flat part of the inkstone. Starting with too much water at once will make the ink color too pale, so start with a very small amount.
2. Move the Ink Stick Across the Stone

Tilt the ink stick slightly diagonally, gently touch its tip to the moistened area, and glide it slowly across the inkstone in a circular motion. Use this time to calm your mind and savor the subtle fragrance of the ink and the sound of the ink stick against the stone.
Despite the action being called “grinding” in English, you want to avoid using force. Pressing too hard can cloud the ink, so glide the ink stick across the inkstone lightly, as if stroking the surface.
3. Adjust the Ink Concentration

Once you feel the liquid ink begin to thicken, gradually add water one drop at a time to adjust it to your preferred concentration and volume. Let any excess ink pool in the basin of the inkstone as you continue working.
Once you’ve reached the desired concentration, gently dip the tip of the brush into the ink. If the bristles have absorbed too much ink, lightly dab them against the rim of the inkstone to adjust the amount.
Enjoy the Act of Writing

As you softly transfer a phrase that has stayed with you onto the prepared paper, savor the fleeting sensation of the brush tip meeting the paper.
When you’ve come to a natural pause in your writing, set the brush down on the brush rest. Enjoy this moment as a quiet breath before crafting your next words.
How to Care for Each Tool
With proper care, your calligraphy tools can be enjoyed for years to come. Since the brush, inkstone, and ink stick are all made from natural materials, their condition can be affected by changes in temperature and humidity. Allow your tools to air-dry after each use, then store them in the kit’s wooden box or a calligraphy case, away from direct sunlight, high temperatures, and humidity.
Brush

Different brushes require different care. The following instructions apply to the Japanese Calligraphy MUSUBI Craft Kit’s Tenpyo brush. If using a different brush, we recommend checking the correct care instructions with the brush manufacturer.
- The brush bristles come stiffened with nori, a mild glue. Before first use, gently loosen the bristles with your fingertips, then rinse them lightly with water and reshape them.
- After use, wipe off the ink with a small, damp sponge or piece of paper, using very light strokes. Once most of the ink has been removed, gently reshape the bristles using blotting paper, a paper towel, or similar.
- Allow the brush to air-dry in a well-ventilated, shaded area. Leaving it wet can cause damage.
Ink Stick

- After each use, wipe moisture off the surface. Leaving the ink stick wet may cause cracking or breakage.
- Do not leave the ink stick resting on a wet inkstone. It can stick to the stone and crack.
- Once fully dry, store the ink stick in the kit’s wooden box or a calligraphy case.
Inkstone

- Inkstones are fragile and may chip, crack, or split if dropped, especially along the stone’s layers. Please handle with care.
- After use, gently rinse off the ink with cold or lukewarm water. Wipe off any moisture with a paper towel, and then let the inkstone air-dry in a shaded area before storing it in the box. Avoid direct sunlight, as sudden heating may cause cracking.
- Do not allow leftover ink to dry on the stone.
- If ink becomes stuck to the surface, soak the inkstone for a while in cold or lukewarm water to loosen the dried ink. Avoid trying to scrape off the ink, as this may scratch the surface of the inkstone.
- Some types of bottled ink are viscous or have strong adhesive properties. These are more likely to stick to the stone’s surface, so if using this variety, please wash the inkstone thoroughly with water after use.
How to Remove Ink Stains
If ink gets on your clothes, soak the affected area in lukewarm water and gently scrub with soap using a cleaning brush or similar tool, taking care not to damage the fabric.
For tough stains, try this traditional remedy suggested by Kinkoen, the maker of the ink stick included in the Japanese Calligraphy MUSUBI Craft Kit. Mix soap with the juice from fresh ginger root and gently scrub to draw out the stain, then wash the clothing item or fabric as usual with laundry detergent.

Preparing your tools and grinding ink are the first steps in every piece of calligraphy, and they shape everything that follows. With time, you’ll learn how your sumi responds to each drop of water, how your brush carries ink across the paper, and how the stone feels beneath your hand. Care for these tools well, and they’ll stay with you for many years, each one gathering the marks of your practice. Take your time, enjoy the moment, and let each word find its own shape on the page.
Stay close to the craft
Now and then, a quiet letter — new stories, seasonal notes, and the hands behind the work.
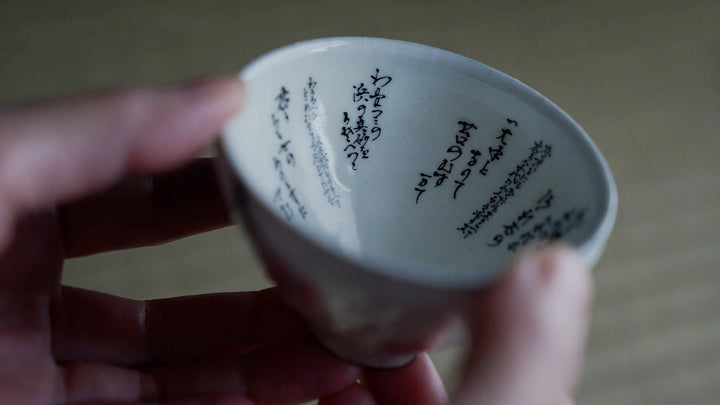
The Aesthetics of the Written Character in Japanese Crafts
From auspicious 福 to hidden ashide poetry, explore how characters become decoration and meaning…
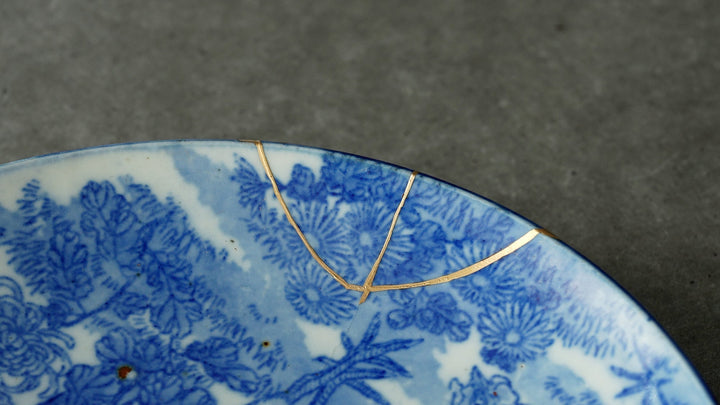
Kintsugi FAQ: All About Japanese Gold Repair
Answers to the most frequently asked questions about kintsugi—what it means, whether repaired pieces…
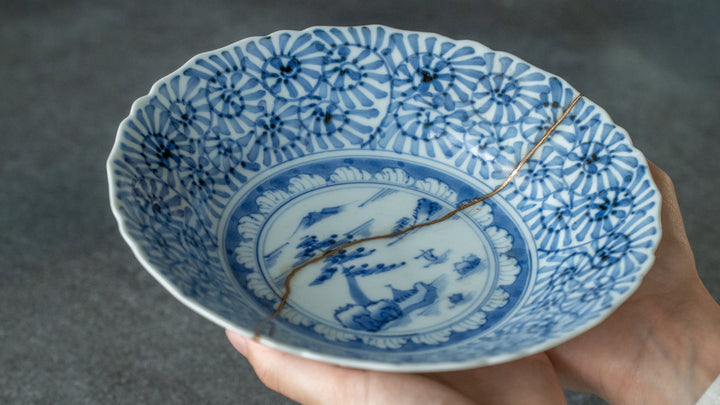
A Beginner’s First Kintsugi with the MUSUBI Craft Kit
Five pieces of chipped, cracked, and broken tableware, seven sessions, and one beginner's honest…
Rebecca Menasché
Leave a comment