Master Tamagoyaki with a Copper Pan
Master fluffy Japanese omelettes with a copper tamagoyaki pan. Learn step-by-step tips, care instructions, and more.
Lightly golden on the outside, tender on the inside, and layered with delicate flavor from just a few simple ingredients, a perfect tamagoyaki is deeply satisfying to eat and to make! While this Japanese omelette may look like something only chefs can master, it’s surprisingly doable at home, especially with the right tools.
In this journal, we’ll show you how to make tamagoyaki using a copper tamagoyaki pan, a traditional piece of Japanese cookware admired for its precise craftsmanship and timeless appeal. Yes, there are easier nonstick options, but there’s a quiet joy in choosing the authentic path.
Here’s a step-by-step guide to making fluffy, flavorful tamagoyaki the traditional way, with the pan pros still swear by.
Get to Know Your Copper Tamagoyaki Pan

What makes a copper pan the best for making tamagoyaki? It starts with the materials. Copper tamagoyaki pans feature a gleaming copper exterior and a food-safe tin lining on the inside. Why copper? Simple: heat conductivity.
Copper heats up fast and stays steady, allowing the pan to cook evenly from edge to edge. This consistency helps tiny air bubbles form as the egg mixture hits the tin-lined surface, giving your homemade tamagoyaki its tender, airy texture and rich character. It’s no wonder professional chefs still swear by this classic tool.
There’s also the look—warm, burnished, and beautifully old-school with the wooden handle. Whether it's nestled in a drawer or set on a shelf, a copper omelette pan is as visually satisfying as the dish it helps create.

Choosing Pan Size and Egg Quantity
Not all tamagoyaki pans are the same size and shape. They come in two main shapes: square and rectangular. The rectangular shape is also slightly easier for beginners to use, especially when it comes to folding and rolling.
Square pans are most commonly used in Kanto-style tamagoyaki, which tends to be both sweet and savory.
Rectangular pans are often used in Kansai-style cooking, offering a bit more length, which makes it easier to spread the egg into thinner layers. Kansai-style Japanese omelettes are made with dashi, giving them a lighter, fluffier texture.
Here’s a guide to sizes and shapes available at MUSUBI KILN, with approximate inch conversions and serving suggestions:
Pan Shape & Size (cm / in) Egg Quantity Serves

| Pan Shape & Size (cm / in) | Egg Quantity | Serves |
| Rectangle 12.4 × 17.7 cm (4.9 × 7 in) | 3–4 eggs | 2–3 |
| Square 12 cm (4.75 in) | 2 eggs | 1 |
| Square 15 cm (6 in) | 3 eggs | 1–2 |
| Square 18 cm (7 in) | 3–4 eggs | 2–3 |
| Square 21 cm (8.25 in) | 4–5 eggs | 3–4 |
How to Prep Your Tamagoyaki Pan
Before diving into how to make tamagoyaki, you’ll need to prepare your brand-new copper pan. Unlike nonstick cookware, a copper tamagoyaki pan requires a bit of seasoning before its first use. This step is called aburanarashi, a simple oiling process that protects the tin lining and helps prevent sticking.
Wash and dry
Gently wash the pan with a soft sponge and mild soap. Rinse thoroughly and dry completely with a kitchen cloth or paper towel.

Oil and heat
Pour a generous amount of cooking oil into the pan, about half the depth, and place it over low heat for around five minutes. While the oil is heating, use a folded paper towel to gently press the oil into the tin surface along the bottom and sides.

Cool and wipe
After five minutes, turn off the heat and allow the oil to cool. Pour the oil into a heatproof container, then wipe away any remaining oil with a clean paper towel.
Tip: While aburanarashi is a simple one-time ritual that gets your pan ready for use, if your pan hasn’t been used for some time, it’s best to repeat this step before cooking.
Step-by-Step: Making Flavorful Tamagoyaki
Ready to cook? Here’s how to make a Japanese omelette like a pro.
In this guide, we’re using the rectangular 12.4 × 17.7 cm (4.9 × 7 in) pan—a great size for beginners.
Here’s what to prepare, tailored to this size:
What You’ll Need
Ingredients:

3 large eggs
1 Tbsp sugar
1 tsp mirin
1/2 tsp soy sauce
Pinch of salt
Cooking oil
Supplies and Tools:
1 pair of long cooking chopsticks
1 small bowl
1 small heatproof bowl with about 1 Tbsp of oil
1 or 2 folded paper towels (for oiling the pan)
Optional:
Ladle (for pouring the egg mixture)
Silicone spatula (avoid using metal spatulas as they can scratch the surface)
Step 1: Make the Egg Mixture
In a small bowl, stir together the sugar, mirin, soy sauce, and salt until combined.

In a separate bowl, gently beat the eggs with cooking chopsticks.
Pour the beaten eggs into the bowl with the seasoning mixture and stir gently to combine. Avoid whisking too vigorously to prevent bubbles.

Tip: For a smooth, uniform yellow color with no visible egg whites, strain the mixture once through a coarse strainer.

Step 2: Set Up Your Station
Before heating your tamagoyaki pan, arrange your tools near the stove. Have your egg mixture, oiled paper towel, chopsticks or spatula, and a plate for serving all within easy reach.

Step 3: Heat and Oil the Pan
Place the pan over medium heat. Dip the folded paper towel in oil and coat the bottom and sides of the pan.

The pan is ready when a small streak of egg sizzles gently—if it browns too fast, reduce the heat or lift the pan off the stove briefly.

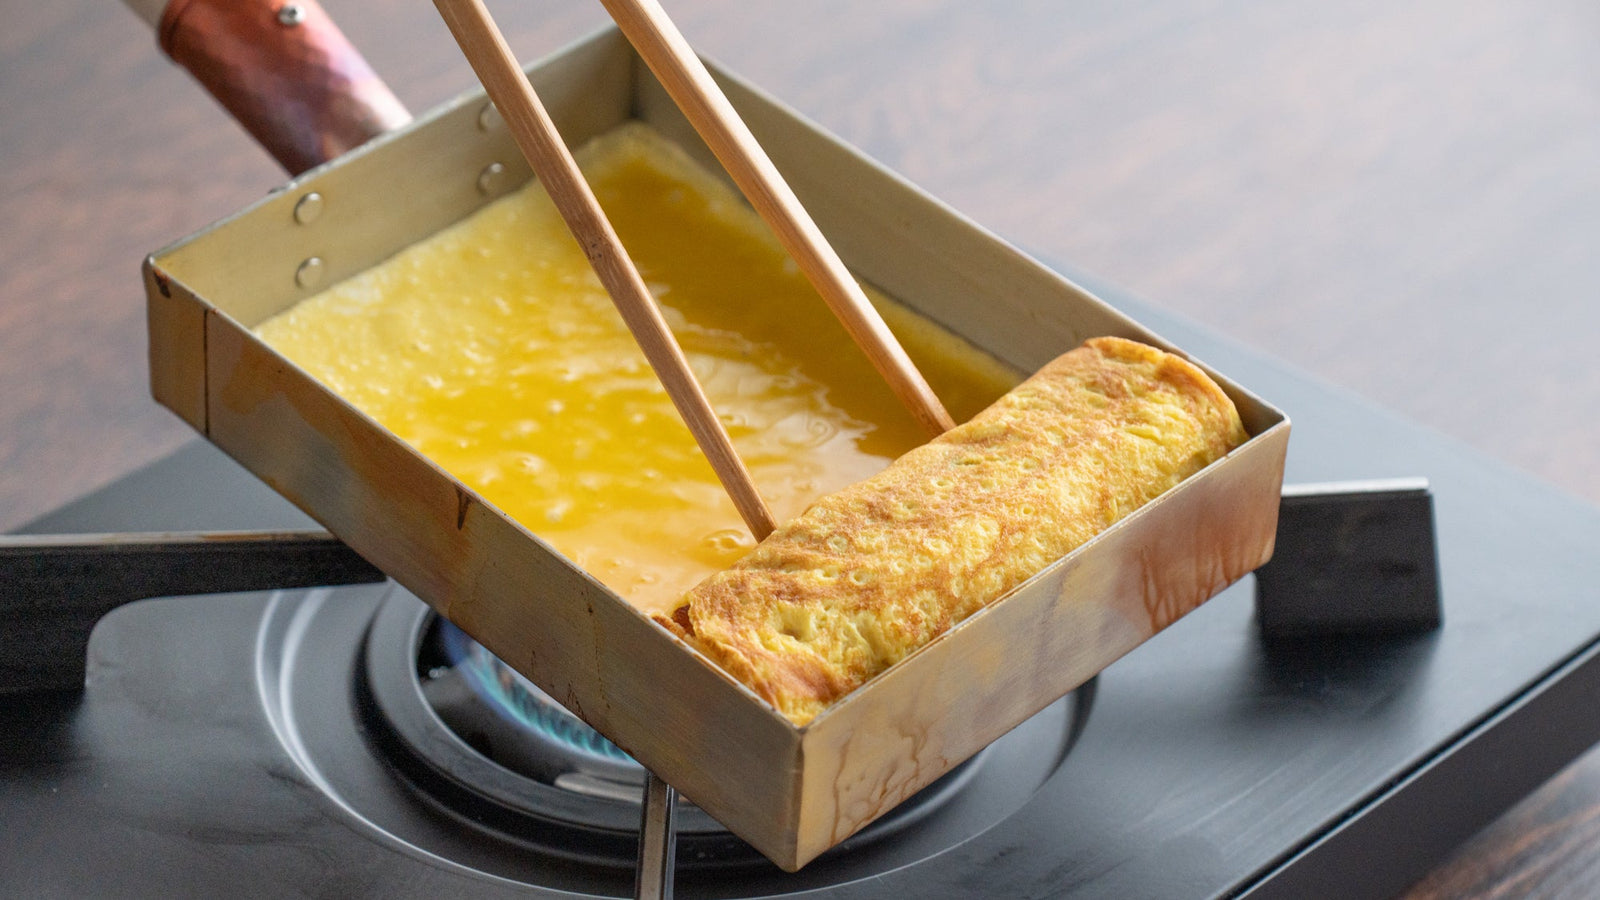
Step 4: Pour and Roll
Pour in egg mixture just enough to cover the surface.

Pop large bubbles on the surface and let it cook until the edges are set and the top is still slightly uncooked.

Start rolling from the far side of the pan toward you using chopsticks or a spatula.

Push the rolled omelette back to the far side of the pan.

Step 5: Repeat the Layers
Lightly re-oil the pan.

Pour in more egg mixture, lifting the rolled tamagoyaki slightly so the fresh egg mixture flows underneath.

Once mostly set, roll again toward you. Repeat until all of the egg is used. You’ll typically get four to five layers.

Step 6: Shape the Omelette
After the final roll, gently press it in the pan to neaten the shape. For cleaner edges, wrap the omelette in a sheet of paper towel while still warm and let it rest for a few minutes.

Step 7: Slice and Serve
Let the tamagoyaki cool slightly before cutting. Slice into six even pieces.

Plating Tips:
On a rectangular plate, line the slices on a diagonal.

On a round plate, stack them in two overlapping layers.

And one slice makes a perfect addition to a neatly packed bento box!

Cleaning and Storing
After cooking, it’s time to take care of your cookware. Copper pans may seem high-maintenance, but a few simple habits will keep yours looking beautiful for years to come.
Skip the soap. If you plan to use your pan again soon, simply wipe it clean, removing any egg residue or bits left behind. For the first several uses, it's a good idea to lightly coat the surface with oil after cleaning.
Taking a break? If you won’t be using your pan for a while, wash it with hot water and a soft sponge. Dry it immediately to prevent oxidation or water spots.
Store it dry. Store your pan in a low-humidity place, and avoid stacking anything on top.
Think of it not just as a pan, but as a tool with character—one that gets better with age and brings quiet joy to your egg-cooking routine.
Ready to Try?
Whether you’re making breakfast for yourself or packing tamagoyaki into a bento box, cooking with a copper pan adds something special to the experience. It’s not just about making food. It feels more like crafting and connecting to tradition in a satisfying way.
So if you're looking for a Japanese omelette pan that’s both practical and meaningful to use, a copper tamagoyaki pan might just become your new favorite kitchen companion.

Stay close to the craft
Now and then, a quiet letter — new stories, seasonal notes, and the hands behind the work.
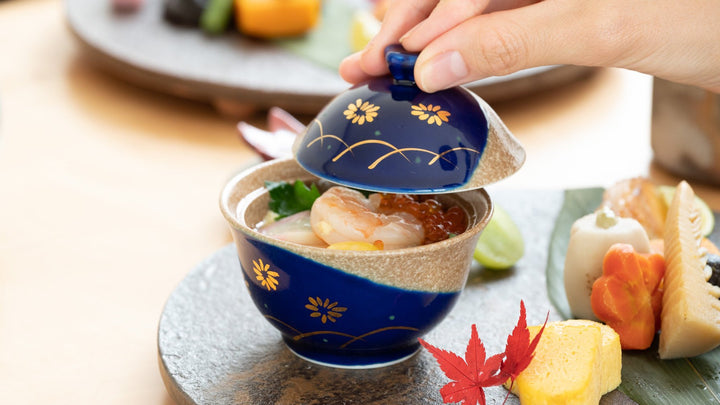
Chawanmushi Recipe: The Ultimate Japanese Comfort Food
Learn how to make chawanmushi, or Japanese savory egg custard, delicately steamed for a…

How to Care for Japanese Copper Cookware
Learn how to care for Japanese copper cookware, from seasoning to cleaning, so it…
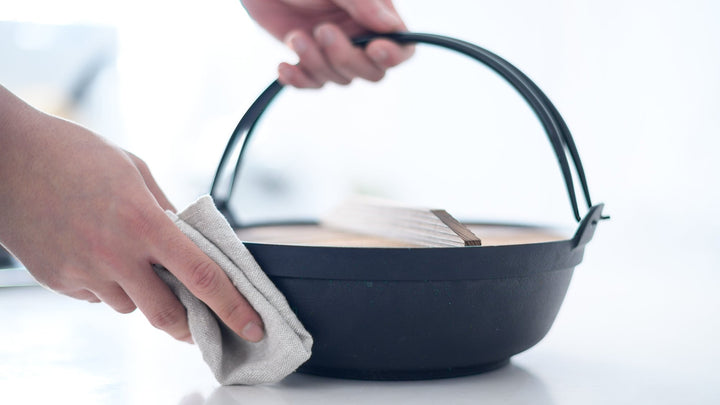
How to Season Nambu Ironware Nabe
The Nambu Ironware Nabe Cast Iron Pot is a unique and convenient piece of…
Leave a comment