A Step-by-Step Guide For Ikebana Beginners - Part 3
Written by Team MUSUBI
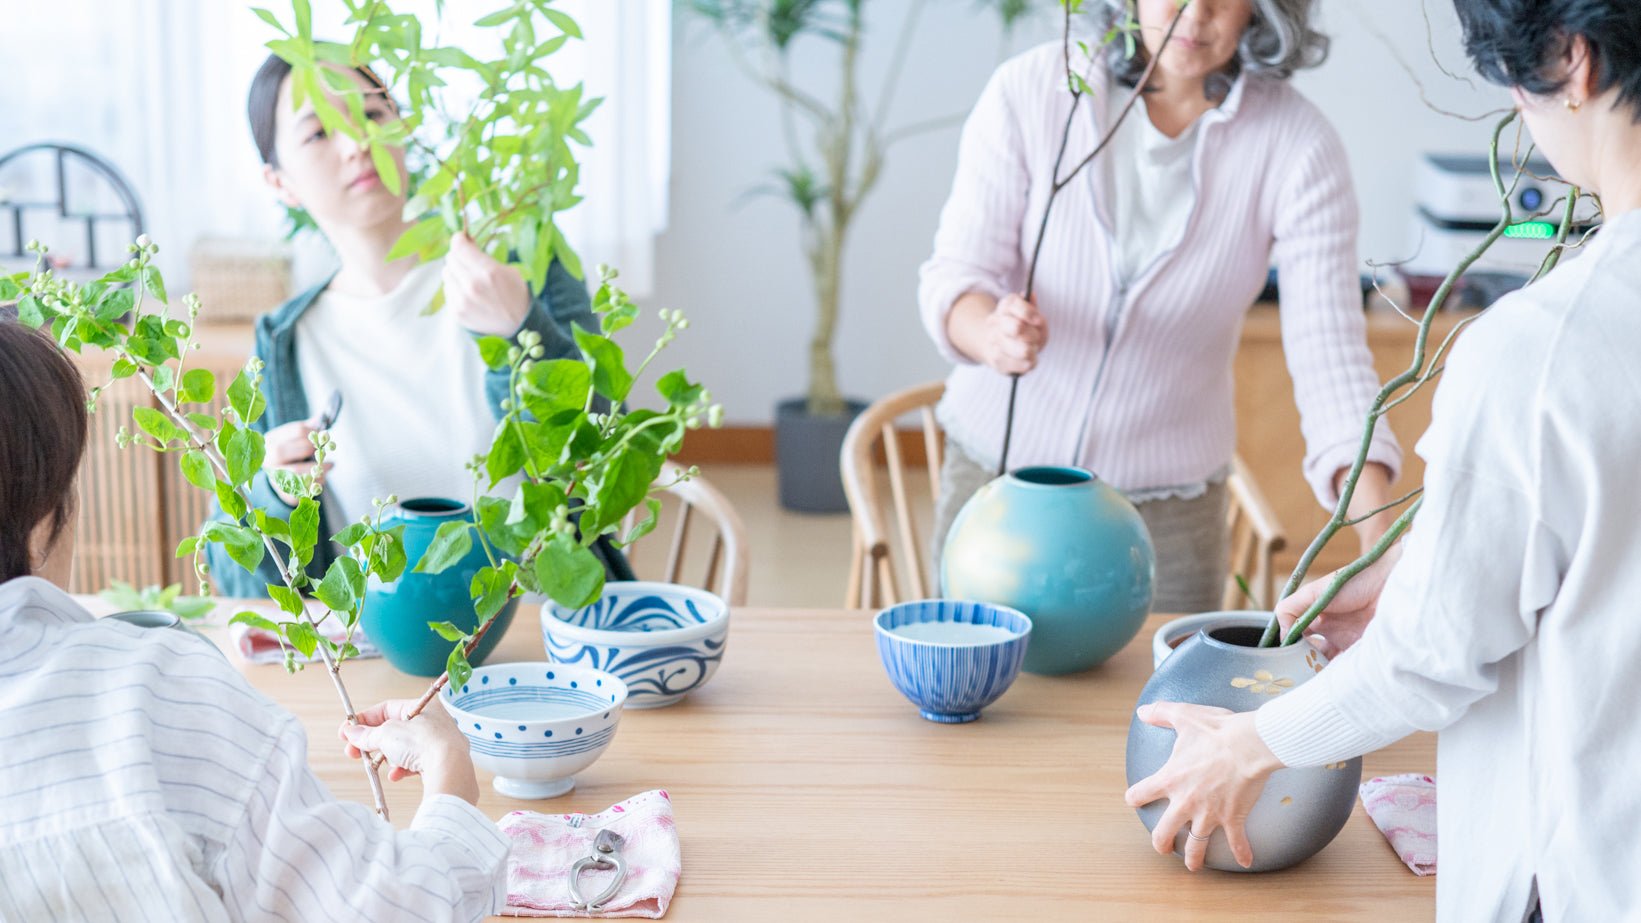
We saved the most challenging for last! Part 3 of our ikebana lesson explores arrangements using large Kutani ware vases. While their stylish design and craftsmanship are undeniable, these very qualities make them tricky to work with for beginners.
Discover fascinating methods and helpful pointers for creating stunning ikebana arrangements in large vases.
tables of contents
Ikebana Techniques for Large Vases
Before our lesson, Matsuki sensei explained that a large vase with a small opening is one of the most challenging to work with. Angling branches can be especially challenging since you can't use both hands inside the vase to position them properly.
To help with this, Matsuki sensei taught us a useful technique called oridome for securing long stems or branches in place. She demonstrated it using a glass pitcher so we could clearly see how it works.

To slant a long branch in a large vase, start by gently bending the end of the branch. The exact point where you bend it will depend on the angle you want to achieve.

Then, immerse the bent branch in the vase and adjust its angle. To set the branch at a flatter angle, position the bent section closer to the rim of the vase.

Another point to keep in mind is that leaves and flowers should always be facing upwards as seen with these leaves.
Red Fuji And Crane Kutani Ware Vase
Saori-san took on the challenge of arranging flowers in the large Red Fuji and Crane Kutani Ware Vase, a striking piece featuring a bold red depiction of Mt. Fuji.
Now, we’ll walk you through each step of her arrangement.
To begin, she placed bright green Japanese clethra branches. It's important to start with the largest element in an arrangement. Before setting them, she carefully removed any unnecessary leaves and small twigs.

Unsure where to place the orange daylilies, Saori-san asked Matsuki-sensei for advice. She pointed out a few options and reminded her that testing different spots before cutting is the best way to avoid overcutting.

With a few quick snips, Matsuki sensei helped trim small twigs from the branch. Creating a clean, natural curve with branches and stems can be tricky for beginners, but watching her work was mesmerizing. With effortless precision, she clipped away leaves and small branches, shaping the arrangement with a graceful ease.

To complete the arrangement, Saori-san added a branch with neatly lined leaves. Deciding the right height for each element was a challenge throughout the lesson. A helpful guideline to keep in mind is that the tallest element should be about twice the height of the vase.
For this piece, the branch was cut quite short to add fullness near the base, close to the vase’s opening.


See this lovely arrangement showcasing bright greenery of early summer with hints of orange.
Saori-san modestly said the piece came together thanks to Matsuki sensei’s help, but her own eye for materials and bold choice to angle the branch to the right deserve plenty of credit.

Moonlit Night Gold Shigaraki Ware Flower Vase
Yoshiko-san went with a rustic Shigaraki vase, its soft gradation making a great backdrop for bright, lively flowers. Her choice of willow branches and sunflowers couldn’t have been a better fit.

She first stripped the leaves from the branches, as only the bare willow branches are used in ikebana. Their unique curves became the focal point of the arrangement.

Noticing Yoshiko-san struggling to set the willow branch with its long, curvy twigs, Matsuki sensei showed us another way to secure thick branches in a vase.
1. Cut a thick branch to match the width of the vase’s widest section.

2. Split the end of the branch you plan to set in the vase in two by cutting the end slightly.

3. Then, place the cut twig in the slit made at the end of the branch. This will work as a stopper in the vase and help secure its position.


The final touch was adding green polypodium leaves, bringing a fresh, natural balance to the arrangement.

Matsuki sensei set one more tall sunflower. And here is Yoshiko-san's masterpiece!
Looking a little tired but completely satisfied, Yoshiko-san smiled and said, “It’s amazing how adding just one flower naturally draws attention to the willow’s branching. There was so much to learn from this ikebana experience.”
Ikebana is an art that embraces the simple grace of nature. Yoshiko-san’s arrangement beautifully complemented the understated charm of the Shigaraki vase—with its clean lines and cheerful yellow tones coming together in perfect harmony.

Feeling Tradition
Ikebana was far more challenging—and rewarding—than we anticipated. What looked so effortless in Matsuki sensei’s hands turned out to require patience, precision, and a keen eye. We were grateful for her guidance, teaching us the fundamentals in such a short time and helping us reconnect with our culture. Before we wrapped up, she shared a final thought: "The essence of ikebana lies in finding joy in the process."
A few days after our lesson, I picked some flowers from my garden and tried making an arrangement on my own at the office (with a little help from my colleague). I checked the curve of each flower, imagined how the colors would come together, and carefully cut each branch.

Although I wasn’t sure if I had fully covered everything from my ikebana lesson, spending fifteen minutes in the morning arranging freshly cut flowers was a wonderful way to start the day.
As I adjusted each stem, I found myself remembering Matsuki sensei’s words about finding joy in the process.
With each new arrangement, I feel a little more confident, a little more in tune with the rhythm of nature. And maybe that’s what ikebana is all about—a quiet conversation between flowers, space, and the person arranging them.

Whether it be with a small flower from your garden or a bouquet from the florist, we hope you try decorating your home with an ikebana flower arrangement.


Leave a comment
This site is protected by hCaptcha and the hCaptcha Privacy Policy and Terms of Service apply.