Fast, Fun & Fancy: Tips For Your Bento Box Masterpiece
Written by Team MUSUBI
Who says a packed lunch has to be boring? Delight in the world of Japanese bento boxes and turn your midday meal into a culinary adventure. One that's as fun to put together as it is to eat, filled with color, flavor, and whimsical ideas. Let's get into how you can whip up a lunch that's quick to make, a blast to unveil, and gorgeous to gaze upon.
tables of contents
Picking Your Bento Buddy and Accessories

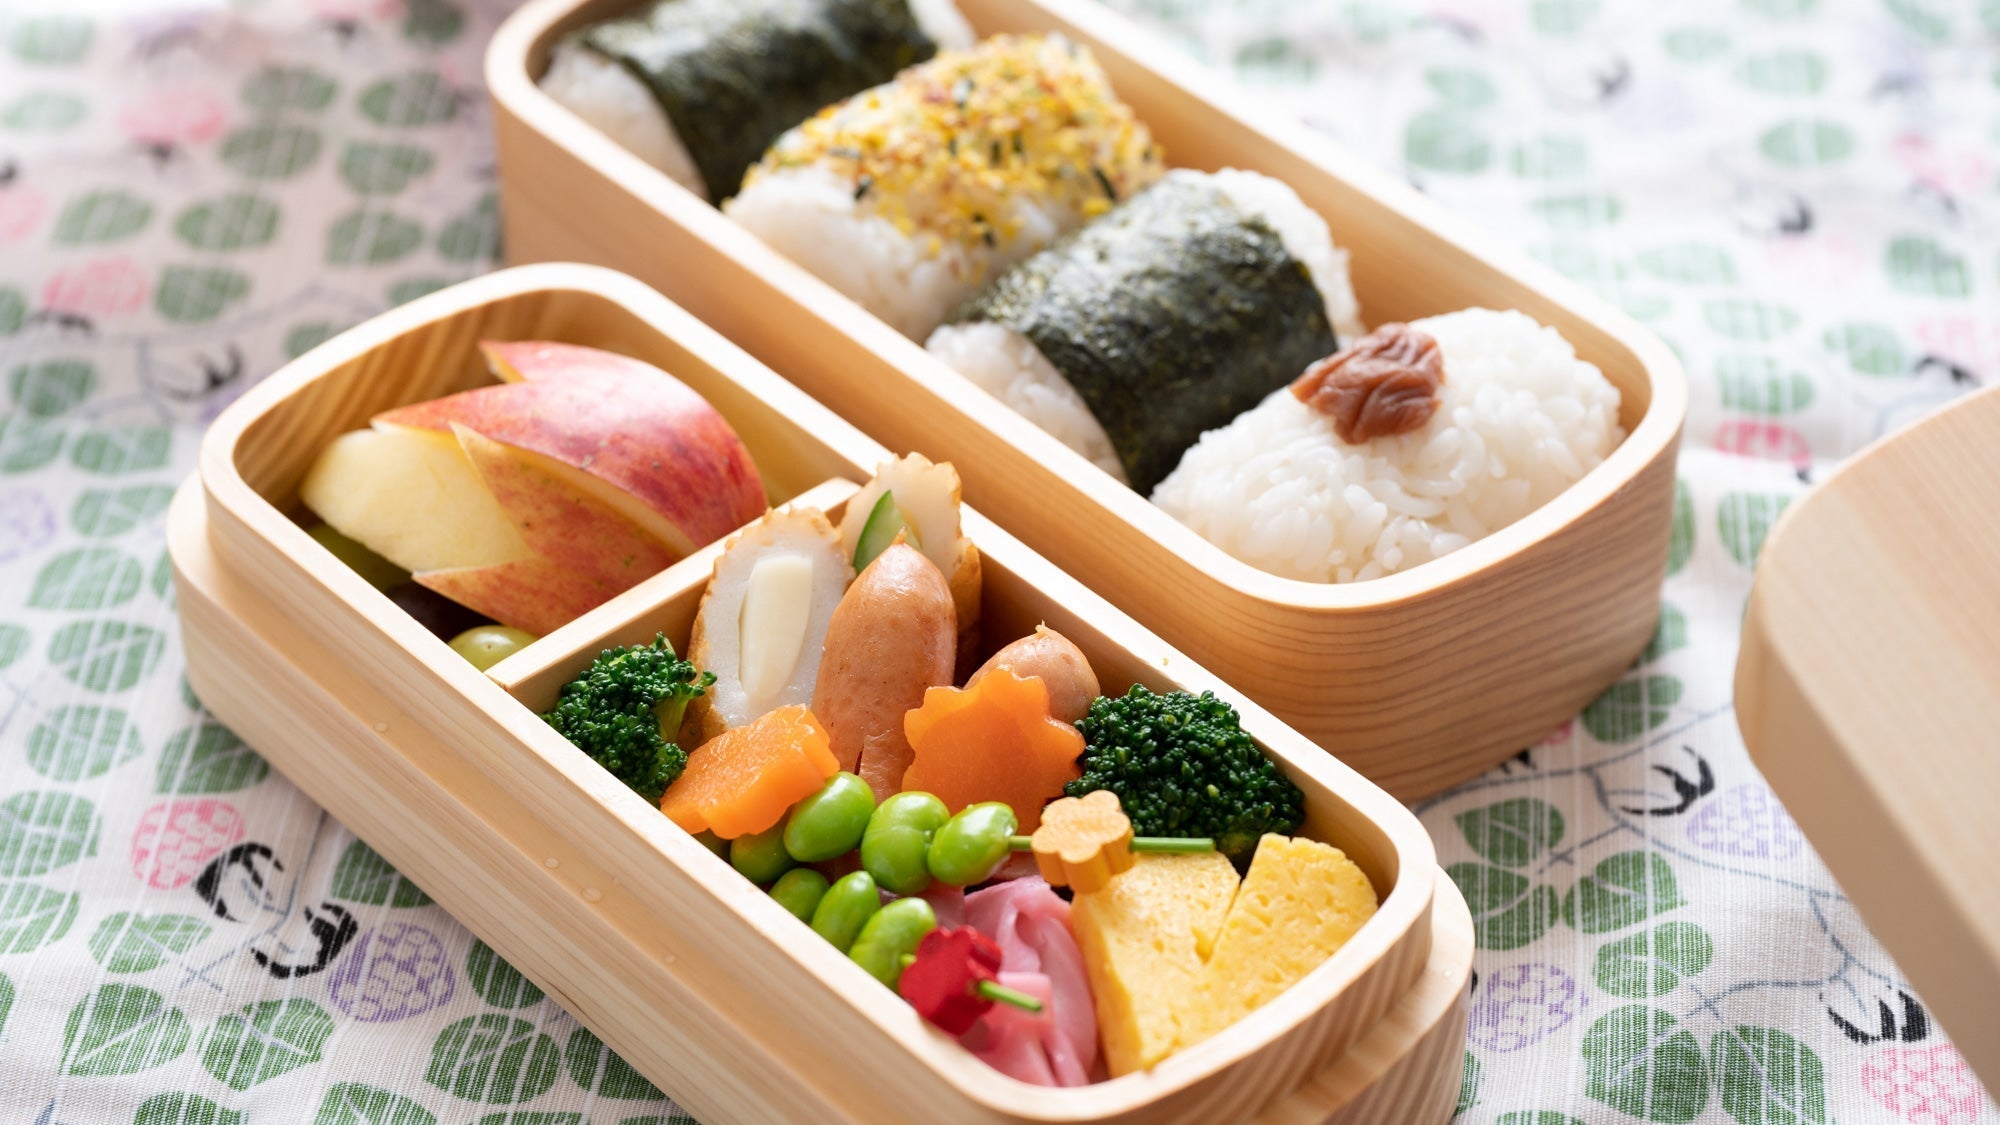
For our lunch, we got out our chic, two-tiered Kishu cypress bento box that's spacious enough to stash a smorgasbord of treats.

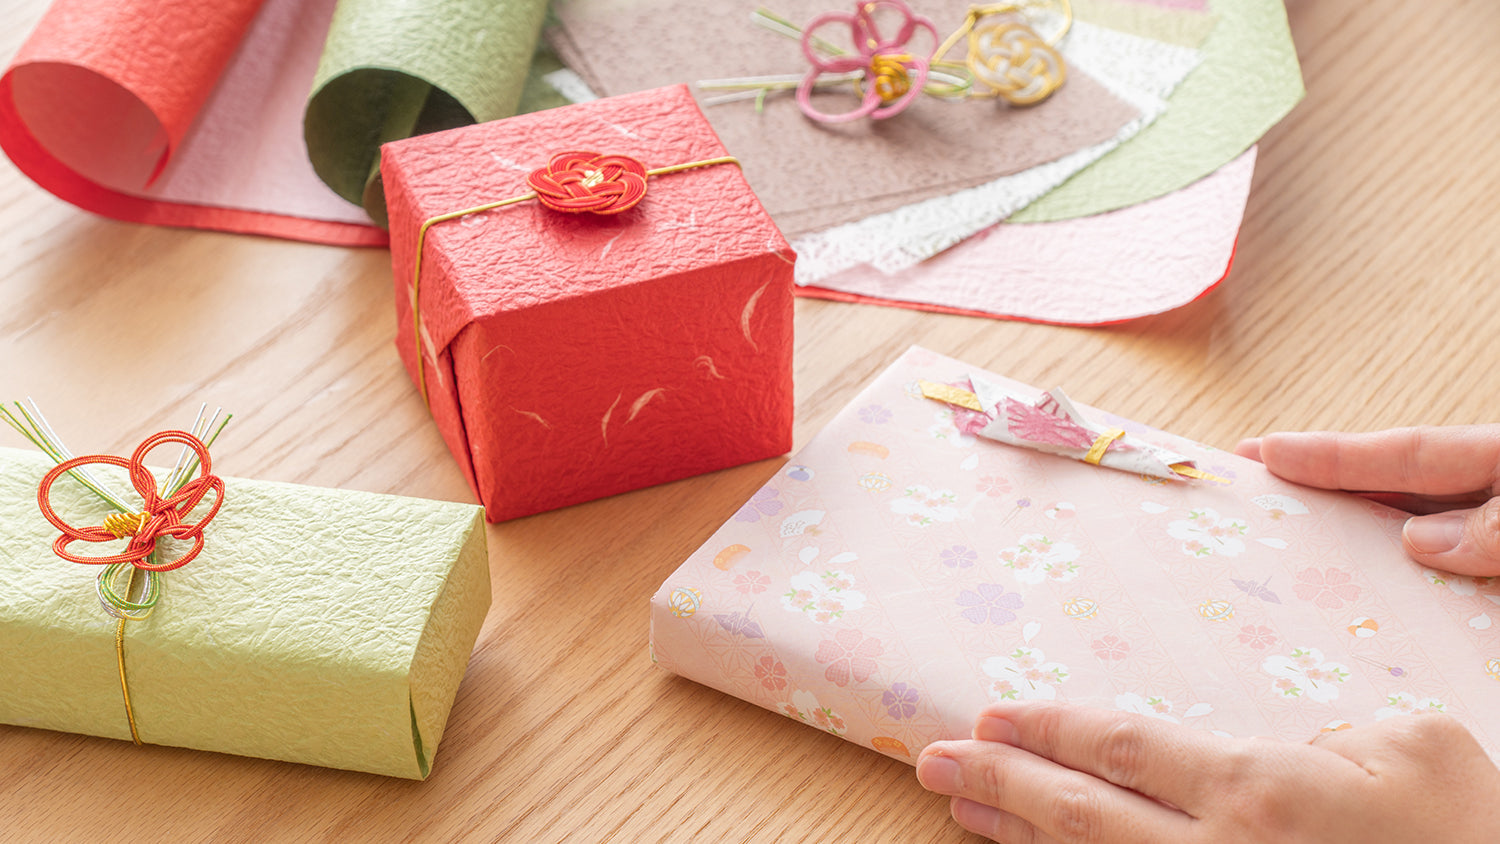
And for that extra sprinkle of tradition, we selected a brightly colored and patterned furoshiki to wrap all things up neatly.
What's on the Menu?

A bento's magic comes from its vibrant array of eats. Here’s our lineup that's bound to make your taste buds dance.
- tamagoyaki - made with 3 eggs
- sausages - 3 small-sized sausages
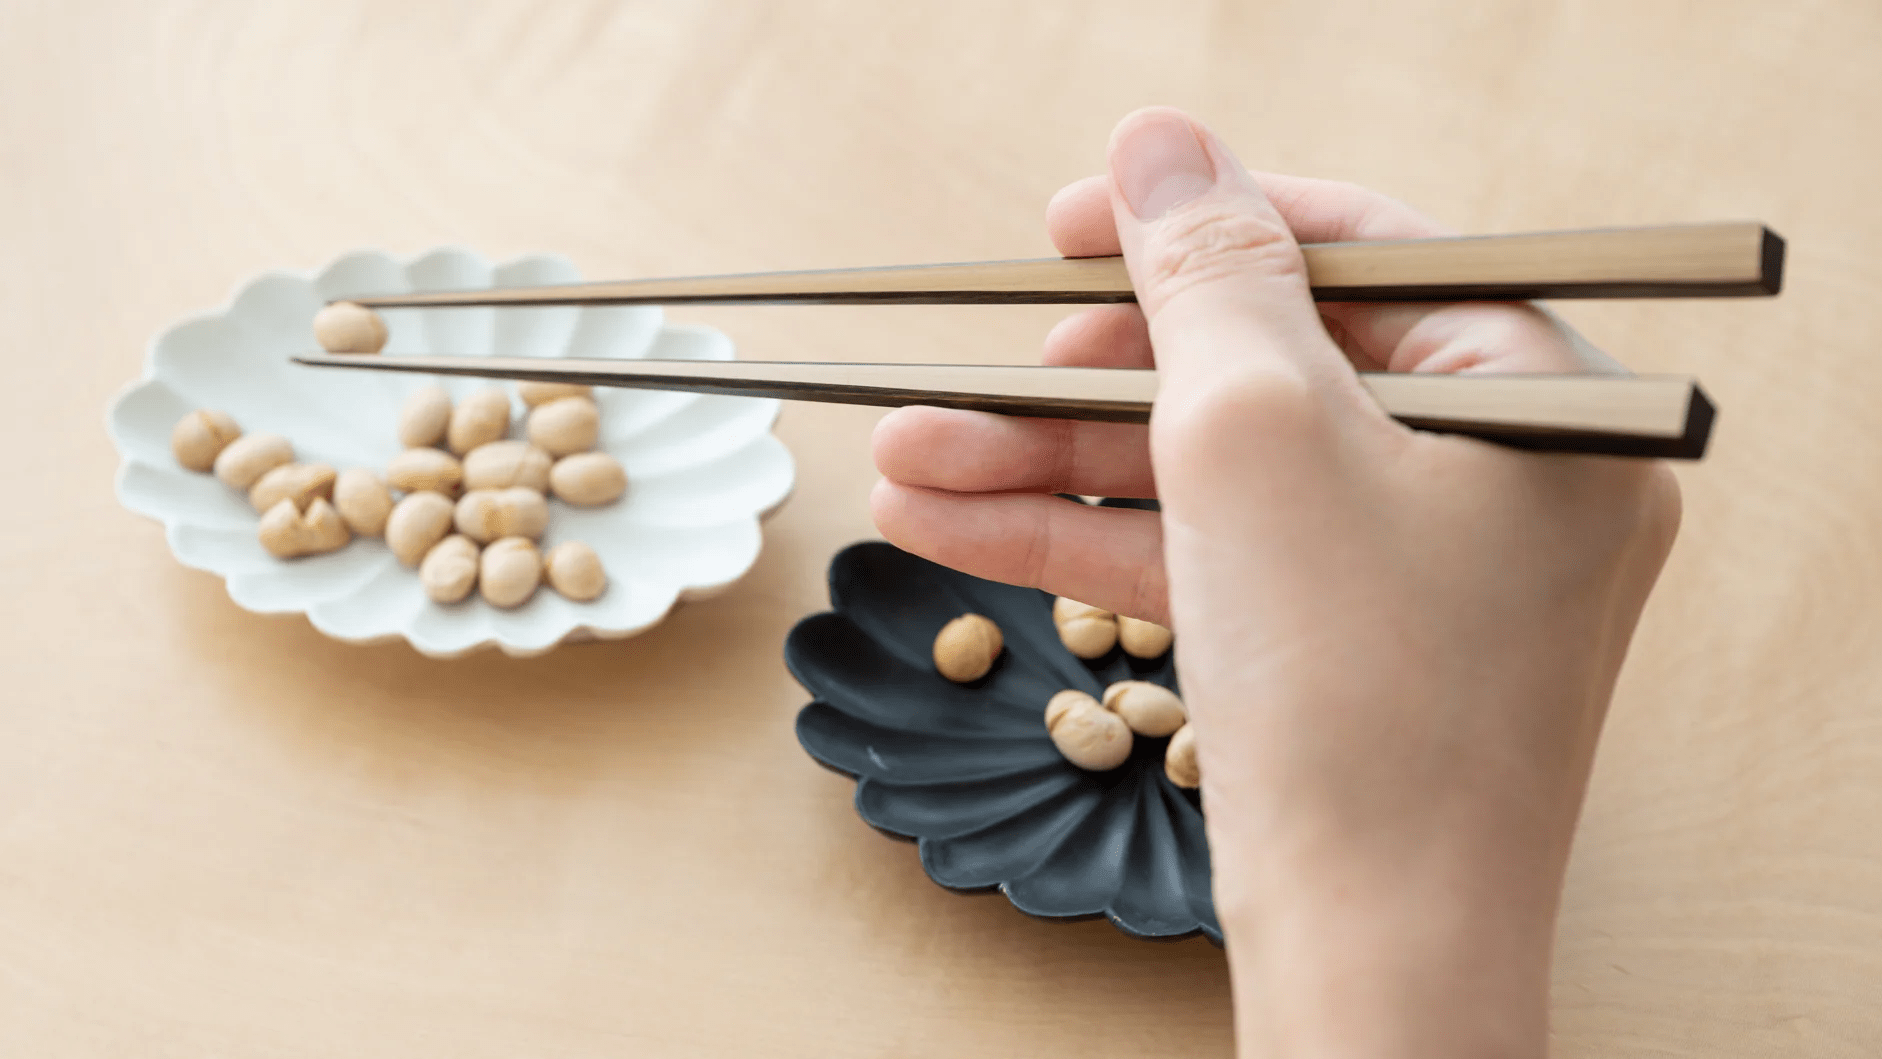
- edamame - about 20 individual beans
- carrots - 2 to 3 slices cut out in your favorite shape
- broccoli - about 2 florets
- kamaboko (fish cakes) - 2 or 3 slices
- chikuwa filled with cheese or cucumber - 2 sticks
- apples and grapes - 2 wedges and a couple of grapes
And, of course, onigiri rice balls to round off the feast.
Prep like a Pro
First, we blanched the cut-out carrot slices and broccoli, then sliced some kamaboko. We filled chikuwa with cucumber and cheese, cutting them at an angle for flair.


Let the Bento Building Begin
One good rule of thumb to remember is to set bigger items first.


Wrapping It Up

With these simple tips and a sprinkle of creativity, you'll be putting together lunches that radiate joy before you know it. Let bento-making be the highlight of your spring and venture out to savor a hearty, handmade lunch all by yourself, or with family members or friends. It's the little joys, like opening a bento box to discover a colorful array of tasty treats, that genuinely make days happier and richer.


2 comments
@Edgar
Estimado Sr.Edgar
Muchas gracias por su interés.Lamentablemente, no tenemos con una sucursal en México.
Nuestro equipo de concierge se encargará de atender su solicitud de compra, por lo que le agradeceríamos un poco de paciencia mientras procesamos su consulta.
Agradecemos su comprensión y quedamos a su disposición.
Atentamente,
Team Musubi
Team Musubi
buenos dias me intersa comprar 150 piezas de bento box japones de bambu pero estoy en cancun quintanaroo tendran alguna sucursal en mexico
saludos
Edgar
Leave a comment
This site is protected by hCaptcha and the hCaptcha Privacy Policy and Terms of Service apply.