Ready for Hot Summer: Making Umeboshi (Pickled Plum)
This is a memory from my elementary school days, on the day of the school sports festival.
That summer sunshine, the sweat pouring out and the hazy head, and the swirling dust.


Benefits of Umeboshi

Umeboshi was an essential part of the dinner table at my parents' house. Although I knew it was good for my body, I only felt the sourness and at one point I thought I might not like it so much. But the Umeboshis I had on this field day were different.
How delicious they were!
And I could feel firsthand how beneficial they were to my body and how they helped to relieve my fatigue. It was truly a great opportunity to enjoy umeboshi.
By the way, umeboshi are not only good during exercise or in summer, but also healthy in the long run. They are said to prevent constipation by improving the intestinal environment, promote weight loss and boost immune function, and have anti-allergic effects.
So, the embodiment of health, Umeboshi. I'm going to make them by myself!
Day1: Let's Make It!

Ingredients
Umeboshi
- Ume plums: 2 kg / 70.5 oz
- Salt: 360 g / 12.7 oz (18% of the weight of the plums)
Honey Umeboshi
- Ume plums: 2 kg / 70.5oz
- Salt: 300 g / 10.6 oz (15% of the weight of the plums)
- Honey: 80 g / 2.8 oz (4% of the weight of the plums)
- Granulated sugar: 120 g / 4.2 oz (6% of the weight of the plums)


1. Remove the stems.
Remove plums that are too soft (spoiled) as they may rot faster.

2. Wash.
Go to the kitchen and rinse the plums with water.
3. Wipe.
Gently wipe the plums to dry them slightly.

4. Let them dry.
Allow the plums to dry for a short period.
5. Place the plums.
Repeat the process of sprinkling salt on the plums, ensuring that the salt is evenly distributed over all the plums. The salt has a sterilizing effect and helps prevent the plums from spoiling.


6. Fill a bag with water and place it in the jar (to be used as a weight). Store the jar in a place away from direct sunlight.
Day2: Infusing Color and Flavor with Red Perilla


Ingredients
- Red perilla leaves
Prepare a minimum of 10% and a maximum of 20% of the weight of the plums to achieve a strong color and flavor. - Salt
Use approximately 17-18% of the weight of the red perilla leaves.
1. Remove the thick green stems and discard them.

2. Wash the red perilla leaves to remove any dirt, then drain them well in a colander to remove excess water.

3. Place the red perilla leaves in a large bowl and add half of the salt. Knead the leaves well to release any bitterness.
4. Squeeze out the liquid from the red perilla leaves, discarding the extracted liquid. Return the squeezed red perilla leaves to the bowl and sprinkle the remaining salt over them.


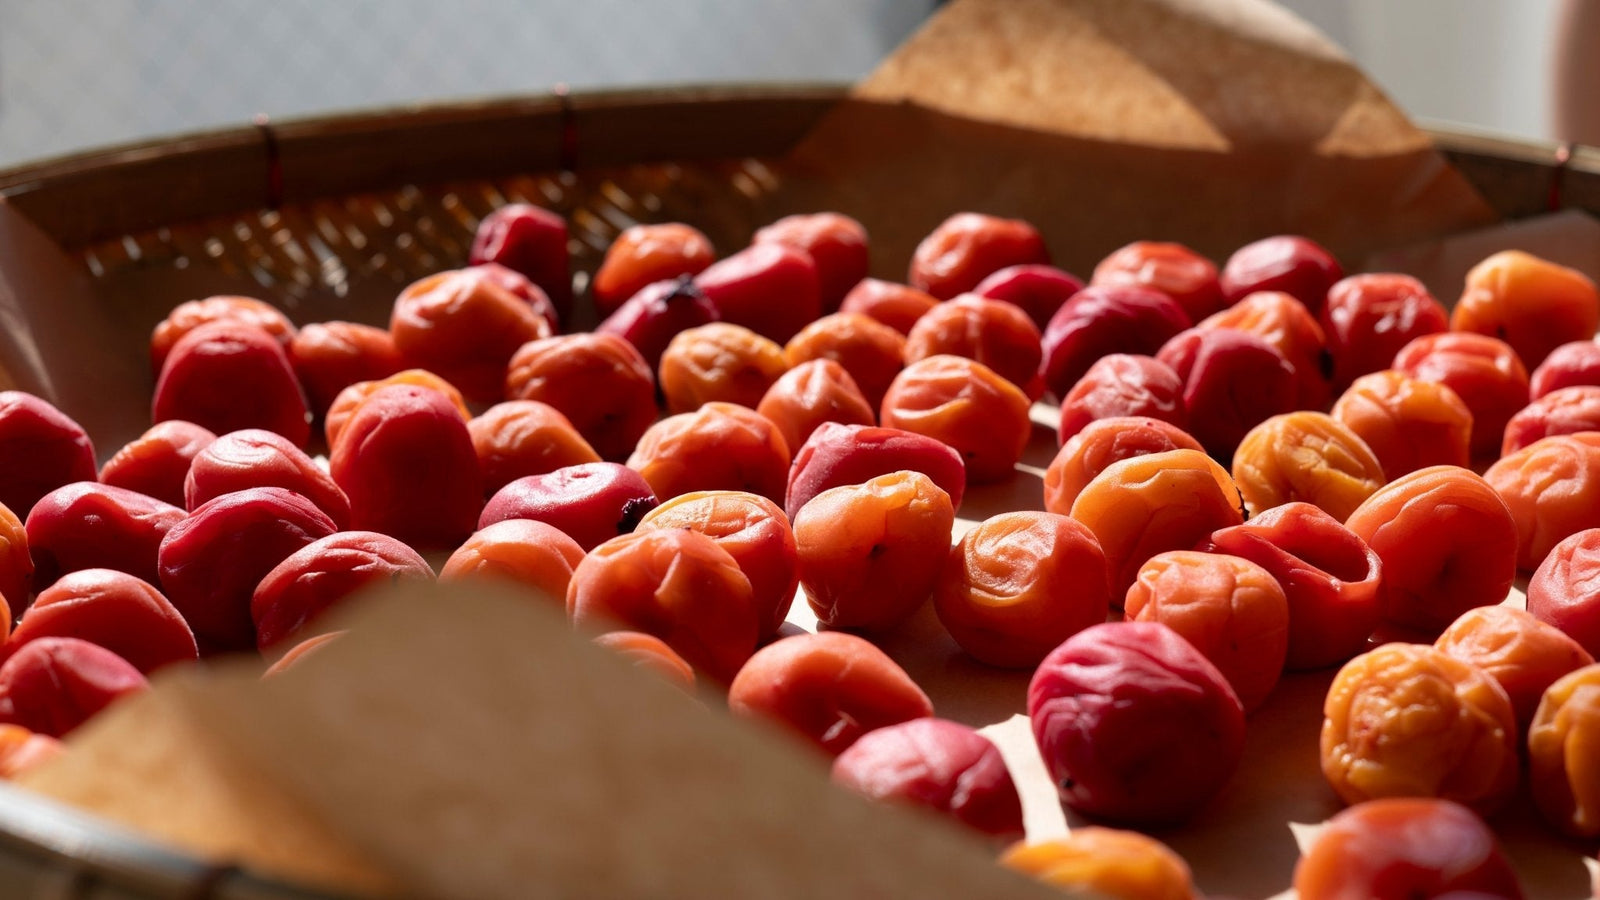
Day 3: Drying plums


3. In the evening, move the sieve indoors.
4. After a few more days have passed, flip the plums and continue drying them for several more days.
5. Once the plums' skins become soft after the sun-drying process, umeboshi is complete.
Making umeboshi with family, friends, or others becomes a fun activity with lively conversations. And it brings joy not only during the preparation but also until it's time to eat them. Observing the gradual changes in the pickled plums inside the jar made me look forward to going to work every day!
In the next article, we'll share our impressions after tasting various plum delights like plum syrup, plum wine, and umeboshi. Stay tuned!

Presenter: Yamada Minako
Writer and Editor
Owner of a cultural space in Tokyo with the theme of "Literature, Vintage Clothing, and Cafe." She has a strong interest in primitive art, contemporary art, philosophy, cultural anthropology, and discourse studies.
Stay close to the craft
Now and then, a quiet letter — new stories, seasonal notes, and the hands behind the work.
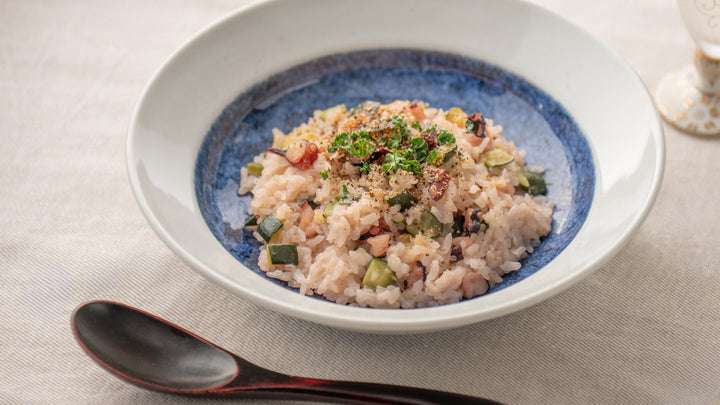
Akari’s Recipe: Braised Rice with Octopus and Zucchini
Try this braised rice with octopus and zucchini recipe, where tender rice absorbs rich…
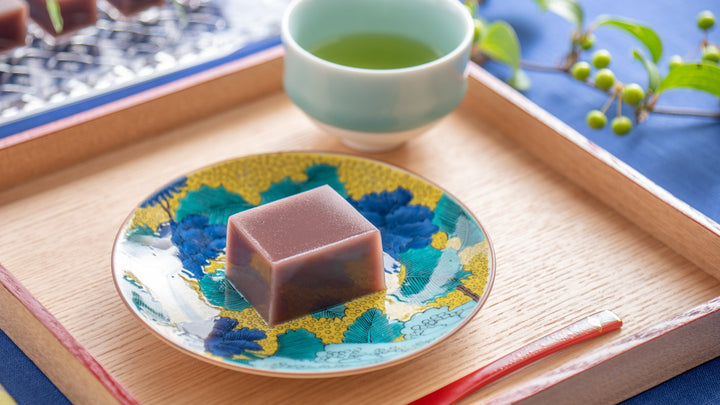
Recipe: Mizu Yokan for A Sweet Summer Table
Learn how to make, chill, slice, and serve refreshing mizu yokan with Japanese plates…
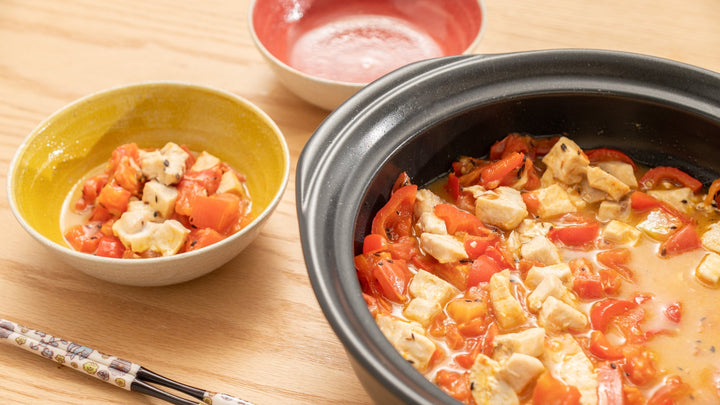
Hasegawa Akari's Summer Donabe Recipe: Swordfish Stew with Tomato and Bell Peppers
Make a delicious summer donabe stew with swordfish, tomato, and bell peppers, created by…
Leave a comment
@Ester Gracias! You will be able to find in any Japanese super markets usually since many Japanese enjoy umeboshi very much. It is SOUR but surely helps us get forward! It tastes well with rice also! We hope you will enjoy Umeboshi!
Donde se puede comprar el humeboshi